






















Yes, you can activate most eSIMs without ever scanning a QR code. Three methods work in place of scanning: manual entry (typing in an SM-DP+ address and activation code), a carrier app or install link, and device-to-device transfer such as Apple’s Quick Transfer. Apple Support documents the manual path directly in iOS settings, and the GSMA’s SGP.22 standard defines that manual code format as an official alternative, not a workaround. Esimglobe also offers a 1-click tap-to-install option for both iPhone and Android that skips manual typing altogether.
Your non-QR options, in order of how often you’ll use them:
- Manual entry — type the SM-DP+ address and activation code directly into your phone’s cellular settings.
- Carrier app or install link — tap a link or button inside your carrier’s app to push the profile to your device.
- Quick Transfer — move an eSIM from an old iPhone to a new one during setup, no code needed.
- 1-click tap-to-install — Esimglobe emails an install link that loads the profile with a single tap, on iPhone or Android.
Key Takeaways
Manual entry, carrier apps, device transfer, and one-click install links all activate an eSIM without scanning a QR code, and the right choice depends on how much typing you want to do.
| Point | Details |
|---|---|
| Manual entry is standard, not a hack | The GSMA’s SGP standard defines SM-DP+ and activation code entry as an official alternative to QR scanning. |
| iPhone offers three non-QR paths | Quick Transfer, carrier app/link, and manual entry all work depending on whether you’re switching phones or activating fresh. |
| Android menu labels vary by brand | Samsung, Pixel, and other OEMs place the manual entry link in different spots on the QR scan screen. |
| Save your codes offline first | Screenshot or copy the SM-DP+ address and activation code before you lose Wi-Fi access, especially while traveling. |
| Esimglobe simplifies the whole process | Its 1-click tap-to-install option activates eSIM plans on iPhone or Android straight from an emailed link, no manual codes required. |
Useful official sources and documentation
- Apple Support: Set up eSIM on iPhone covers official iOS menu paths and device compatibility.
- Verizon’s support pages document carrier-side activation policies and app-based install options
Consult Apple or your carrier’s own support pages for exact menu names on your device, since minor labels shift between OS releases.
Table of Contents
- How to Activate an eSIM on iPhone Without a QR Code
- How to Activate an eSIM on Android Without a QR Code
- What Information You Need When You Can’t Scan a QR Code
- Fixing Common eSIM Activation Errors
- Preparing for a Smooth Activation Before You Travel
- Why Carrier Apps and Install Links Beat Typing Codes by Hand
- Skip the Manual Steps With Esimglobe’s One-Tap Install
- FAQ
How to Activate an eSIM on iPhone Without a QR Code
Every iPhone that supports eSIM, from the iPhone XS onward, includes manual entry as a built-in option, and Apple Support lists it as a standard part of the setup flow. Which method fits best depends on your situation: switching phones, buying a new line, or replacing a deleted profile.
Method 1: Quick Transfer (iPhone to iPhone only)
- Sign into iCloud on both devices and keep them near each other.
- On the new iPhone, go to Settings > Cellular > Add eSIM.
- Select Transfer From Nearby iPhone and follow the prompts.
- Confirm the transfer on your old iPhone when asked.
Method 2: Carrier activation via app or link
- Open your carrier’s app or the activation link from your confirmation email.
- Sign in and select Activate eSIM or a similarly labeled option.
- Approve the install when your phone prompts you.
Method 3: Manual entry
- Go to Settings > Cellular > Add eSIM.
- Tap Use QR Code, then choose Enter Details Manually.
- Enter the SM-DP+ address and activation code exactly as provided.
- Tap Next and let the profile finish downloading.
If you’re on iOS 17.4 or later, Apple added a shortcut: you can long-press a QR code image (a screenshot, a PDF, or one sent in a text) and the system offers to add it directly, no separate scanning app required. That’s useful if your carrier only ever sent you an image file. Quick Transfer only works between two iPhones already signed into iCloud; it won’t help if you’re moving from Android or activating a brand-new line.
Pro Tip: Before you start, screenshot or copy your SM-DP+ address and activation code into a notes app. If you fat-finger a character during manual entry, you’ll want the original string handy to retype it rather than hunting through your inbox again.
How to Activate an eSIM on Android Without a QR Code
Android supports non-QR activation on nearly every eSIM-capable phone, but the exact menu wording changes depending on who made your phone and which Android version it runs. Android’s own technical documentation confirms that manual entry fields, or an equivalent activation string, are part of the standard eSIM download process, not a manufacturer add-on.
The general path looks like this on most devices:
- Go to Settings > Network & Internet > SIMs (or Connections > SIM Manager on some phones).
- Tap Add eSIM or Add Mobile Plan.
- When the QR scanner opens, look for a small link that says Enter Activation Code Manually or Need Help?
Device-specific quirks are worth knowing before you start:
- Samsung (One UI): the manual link often sits at the bottom of the QR scan screen, labeled Enter Code Manually, and typically asks for a single combined activation string.
- Google Pixel: stock Android usually separates the fields, asking for the SM-DP+ address and activation code independently.
- Other Android OEMs: menu labels vary, but the setting almost always lives under SIM or Network settings rather than buried in carrier apps.
Some carrier-locked or older Android builds hide the manual entry option entirely, showing only a QR scanner with no fallback link. If that happens, check for a system update first. If the option still isn’t there, your carrier will need to reissue the eSIM through their app or reach out directly to walk you through activation.
What Information You Need When You Can’t Scan a QR Code
Two pieces of data do all the work in manual activation, and both trace back to the GSMA’s SGP.22 remote provisioning standard:
- SM-DP+ address — the server address (a domain name) that hosts your eSIM profile.
- Activation code (Matching ID) — a one-time token that tells the server which profile belongs to you.
-
LPA string — some Android screens combine both values into one string formatted as
LPA:1$<SM-DP+ address>$<activation code>, rather than asking for them separately.
Carriers typically hand you these values without you needing to ask. They show up as plain text inside your purchase confirmation email, inside the carrier’s app under a section like SIM Management, or in your account portal alongside (or instead of) the QR image. Treat the activation code as a one-time secret. Keep it out of screenshots you share, don’t post it in support forums, and don’t leave it sitting in a public cloud note. Once a profile is activated, the code has already served its purpose, but until then it’s the only thing standing between you and someone else claiming your line.
Fixing Common eSIM Activation Errors
Most activation failures trace back to a handful of causes, and working through them in order solves the majority of cases:
- Restart your phone before trying again. It sounds basic, but it clears a surprising number of stuck download states.
- Make sure you have a working internet connection, Wi-Fi or cellular data, since the profile has to download over the network.
- Double-check the SM-DP+ address and activation code character by character. A single mistyped digit is the most common cause of failure.
- Confirm your device is unlocked and genuinely eSIM-capable for your carrier and region.
- If manual entry keeps failing, ask your carrier to reissue the eSIM profile rather than retrying the same code repeatedly.
“Activation failed” usually means the code was entered wrong or the profile already got installed elsewhere. “Confirmation code required” means your carrier added an extra security step, usually sent by text or email. “Invalid server address” almost always points to a typo in the SM-DP+ field.
Pro Tip: If you’ve retried the same manual code three times without luck, stop. Repeated failed attempts can lock the activation code entirely, and at that point only your carrier can issue a fresh one.
When you do contact support, have your order number, the SM-DP+ address, the activation code, and your exact device model and OS version ready. That’s usually enough for them to diagnose the problem in one call instead of three. For a broader troubleshooting walkthrough, Esimglobe’s quick fixes for iPhone and Android guide covers additional edge cases.
Preparing for a Smooth Activation Before You Travel
A little prep work before you land in a new country saves you from troubleshooting on unfamiliar Wi-Fi.
- Save your SM-DP+ address and activation code as plain text in a notes app, not just in an email you’ll need signal to open.
- Take a screenshot of your confirmation email and store it offline.
- Keep your order confirmation number somewhere accessible in case you need to contact support.
- Update your phone’s OS before departure, since older versions sometimes hide or relabel manual entry fields.
Most activations complete immediately or within a few minutes of entering your details. If your carrier needs to provision their network first, it can take longer, so check their specific notes if you’re activating right before a flight. Activation itself is typically free; whatever you pay covers the data plan, not the setup process. For a full pre-trip checklist, see Esimglobe’s guide on how to eSIM activate for international travel.
Why Carrier Apps and Install Links Beat Typing Codes by Hand
App-based and link-based installs deliver the identical eSIM profile as manual entry, minus the risk of mistyping a long SM-DP+ string. These flows typically run through an authenticated account session with signed provisioning behind the scenes, which cuts down the chance of an intercepted or malformed activation.
- No manual typing means no transcription errors.
- Authenticated sessions add a layer of verification manual entry doesn’t have.
- Esimglobe’s 1-click tap-to-install applies this same logic on both iPhone and Android, turning activation into a single tap instead of a data-entry exercise.
A practical note on choosing your method
I default to manual entry when I want full control and I’m already staring at the SM-DP+ address in a confirmation email. But for speed, a one-click install link wins every time, especially when I’ve just landed and want service running before I leave the gate. Save your codes offline regardless of which path you take. For more on device readiness, see Esimglobe’s international traveler workflow.
Skip the Manual Steps With Esimglobe’s One-Tap Install
Every method above works, but they all ask something of you: typing a code correctly, digging through a carrier app, or transferring between two iPhones. Esimglobe built its activation flow around removing that friction. Buy a plan for any of the 170+ countries it covers, and the eSIM arrives by email within minutes, ready to install with a single tap on either iPhone or Android.
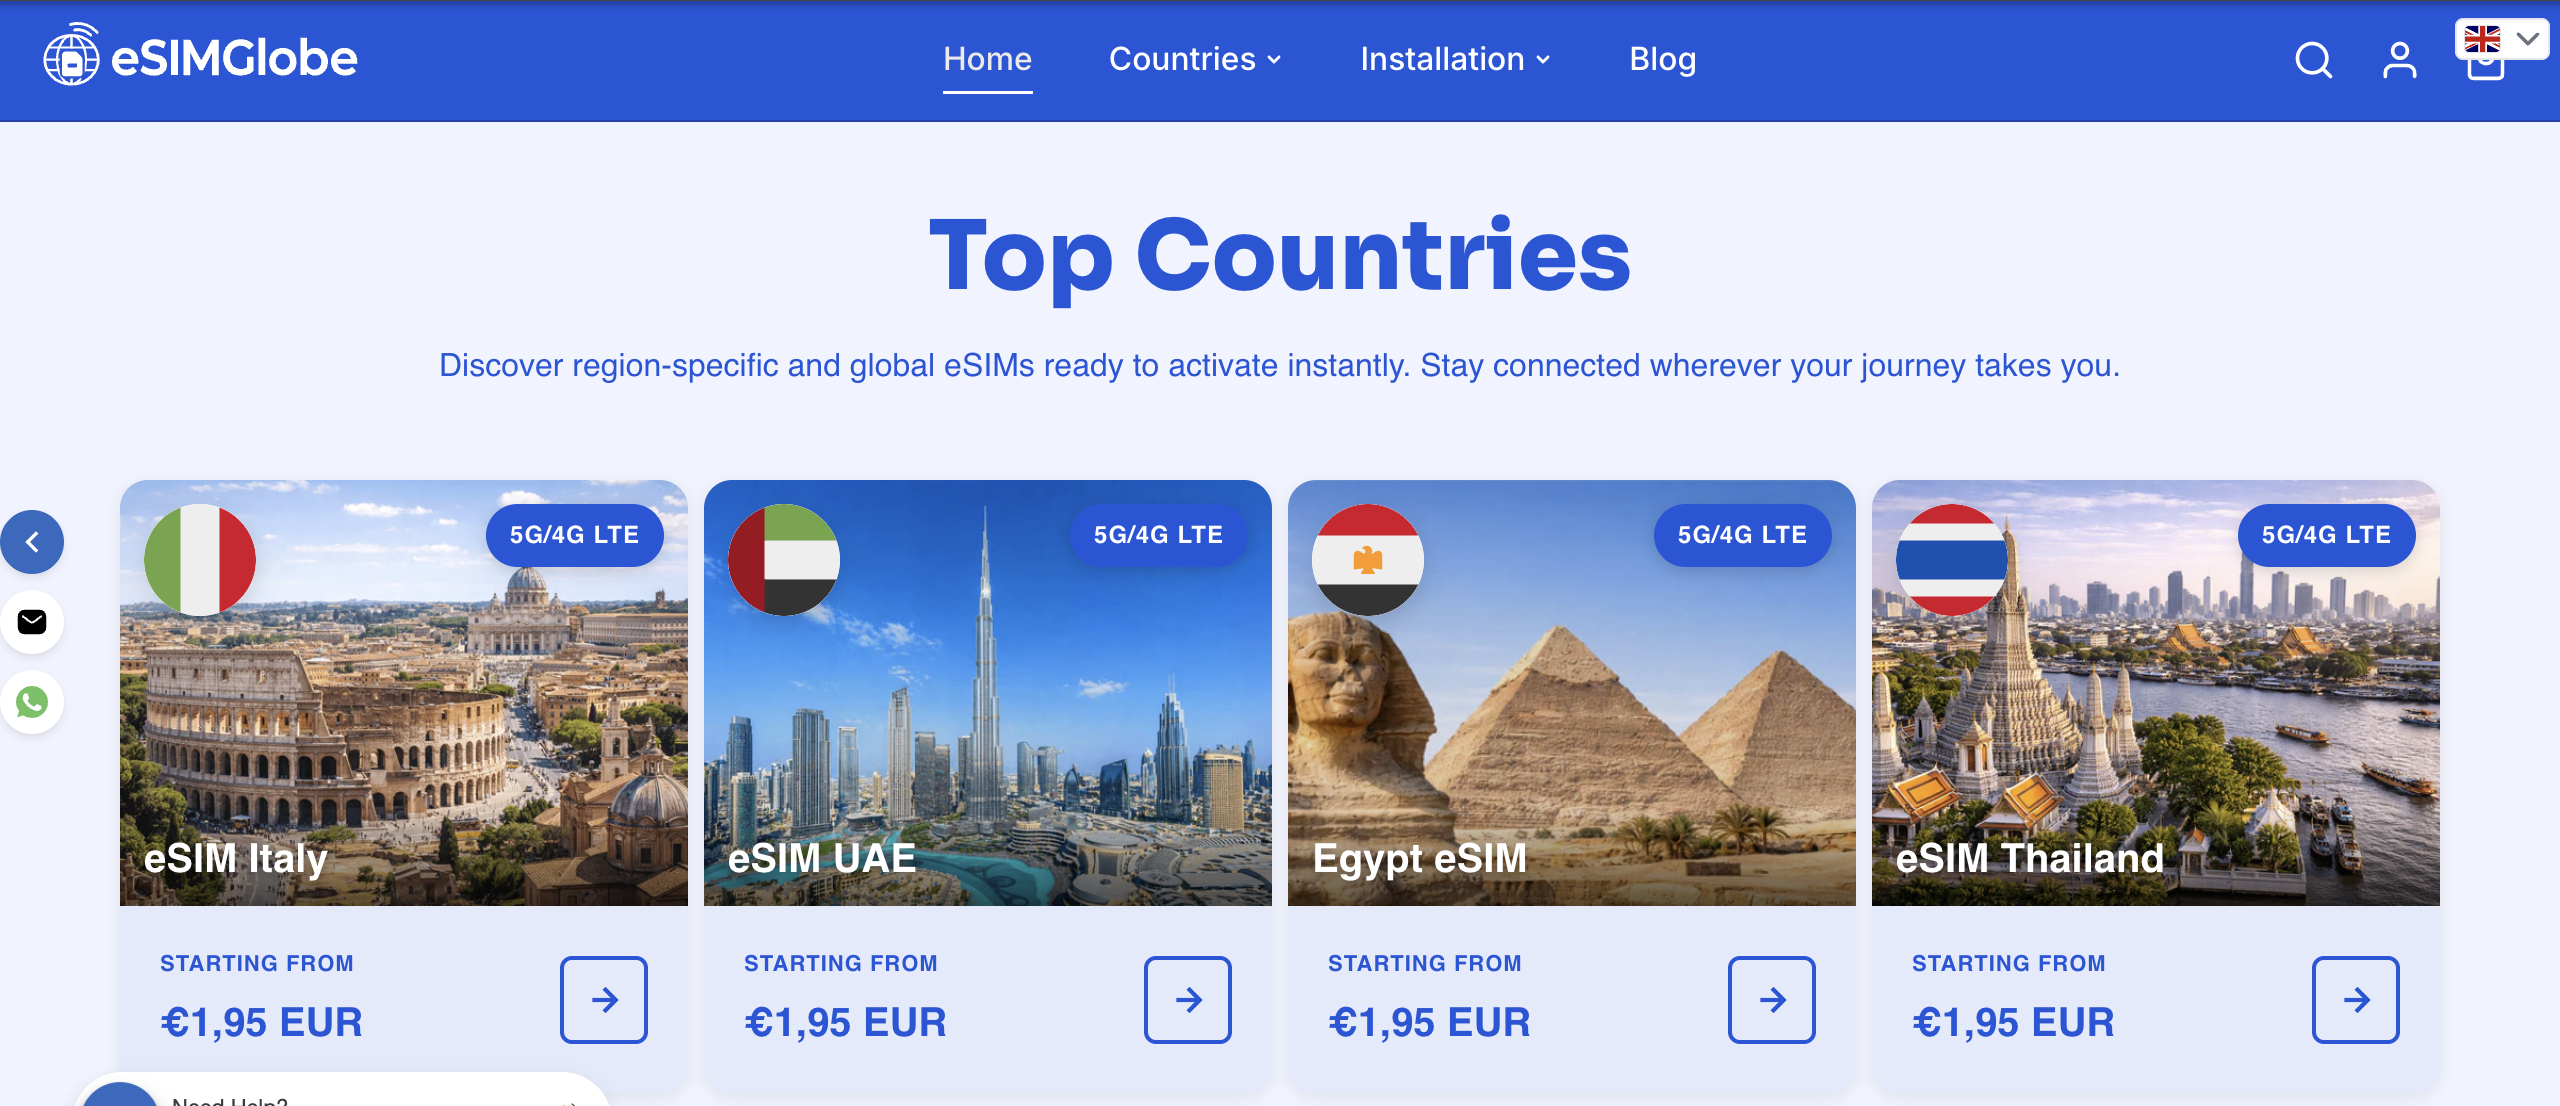
No manual SM-DP+ entry, no hunting for the right settings menu, no guessing whether your carrier app has a hidden activation button. The process is: purchase your plan, open the confirmation email, and tap the install link. Backup 24/7 support is available if anything looks off, and every profile ships with telecom-grade security behind it. If you’d rather skip the manual data entry covered earlier in this guide, browse eSIM plans by country and get connected before you land.
FAQ
How Do I Manually Activate an eSIM?
Go to your phone’s cellular or SIM settings, choose the manual entry option instead of scanning a QR code, and enter the SM-DP+ address and activation code from your carrier’s confirmation email or app.
How Can I Get My eSIM Details if I Lost the QR Code?
Check your carrier’s confirmation email, account portal, or app under SIM Management. Most carriers store the SM-DP+ address and activation code as plain text alongside the original QR image.
How Do I Activate an eSIM Myself Without Help?
Use manual entry with your SM-DP+ address and activation code, a carrier app’s install link, or a service like Esimglobe’s 1-click tap-to-install, which pushes the profile to your device without typing any codes.
How Do I Transfer an eSIM Without a QR Code?
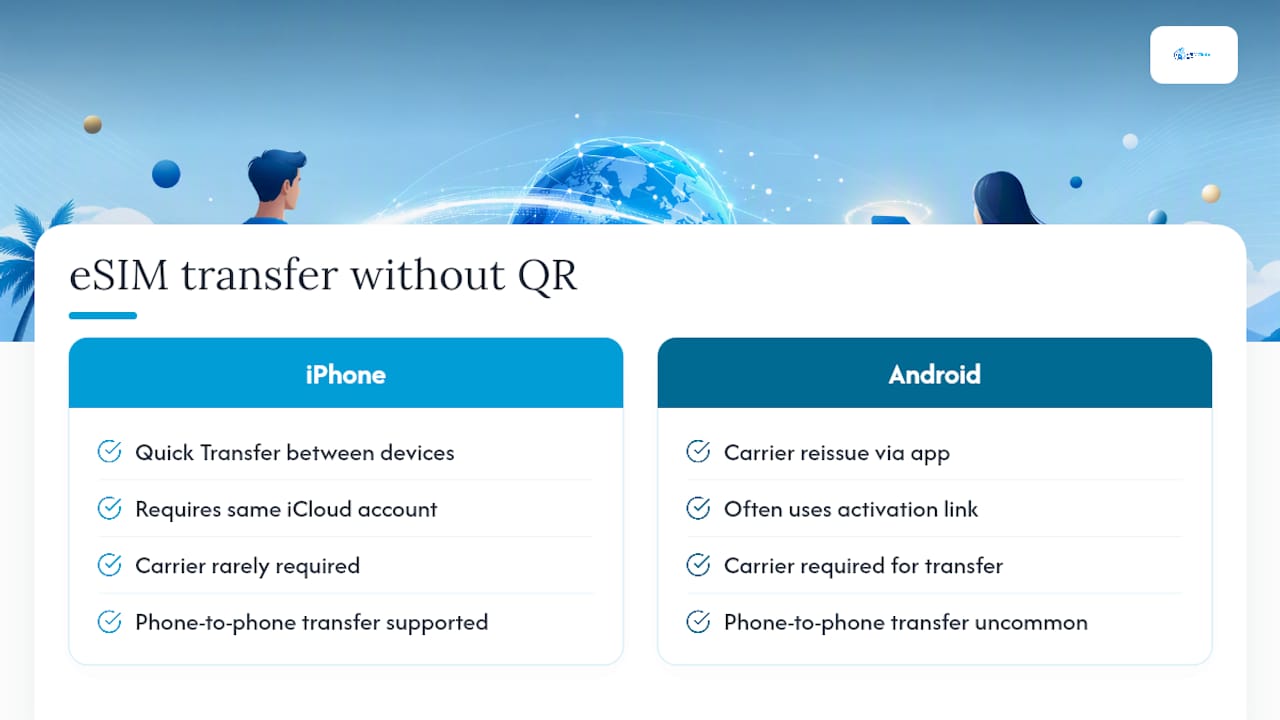
On iPhone, use Quick Transfer between two devices signed into the same iCloud account. On Android, you’ll typically need your carrier to reissue the profile through their app or send a new activation link, since direct phone-to-phone eSIM transfer isn’t standard across all OEMs.