


Swapping physical SIM cards at every border crossing is one of the most predictable frustrations of international travel. You land, hunt for a local carrier store, wait in line, and hope the staff speaks enough of your language to help. eSIM technology removes all of that friction. An eSIM (embedded SIM) is a digital SIM profile built directly into your device, activated remotely without any plastic card. This guide covers every stage: what you need before you start, device-specific activation steps for iPhone and Android, dual SIM management, and how to fix the most common problems travelers run into.
Table of Contents
Key Takeaways
| Point | Details |
|---|---|
| Check device compatibility | Always confirm your phone supports eSIM and is unlocked before purchasing or activating. |
| Prepare with reliable Wi-Fi | Stable Wi-Fi is crucial for downloading and installing your eSIM profile efficiently. |
| Follow device-specific steps | Activation varies for iPhone and Android, so use the correct setup process for your device. |
| Manage dual SIM features | Label your plans, set the data line, and enable roaming to optimize travel connectivity on both SIMs. |
| Troubleshoot wisely | Most eSIM activation issues can be resolved by restarting your device and updating settings. |
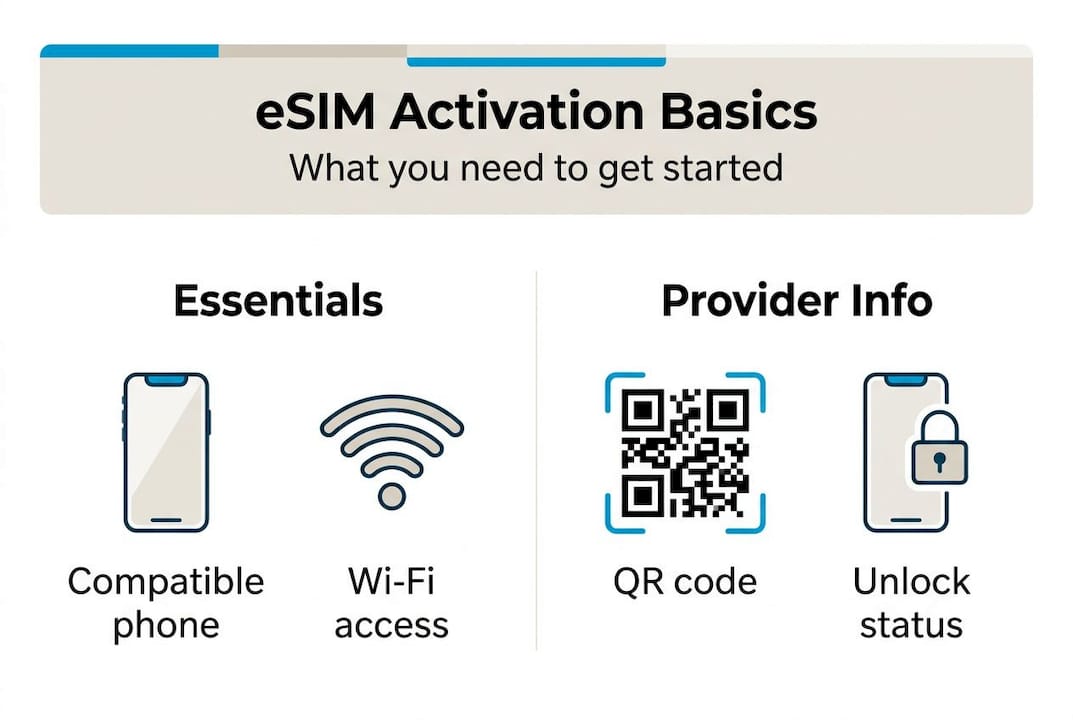
What you need to activate an eSIM
Before touching any settings menu, confirm you have three things in place: a compatible device, a stable internet connection, and a valid eSIM profile from your provider. Missing any one of these will stop the process cold.
Device compatibility and carrier lock status
Not every phone supports eSIM. Most flagship devices released after 2018 do, including iPhone XS and later, Google Pixel 3 and later, and Samsung Galaxy S20 and later. The bigger issue is carrier lock. Carrier-locked phones may reject third-party eSIMs, meaning your device will only accept a profile from the carrier that sold you the phone. If you bought your phone outright or have completed your contract, it is likely unlocked. If you are unsure, contact your home carrier and ask directly.

Wi-Fi connection
eSIM profiles are downloaded over the internet, not transmitted via radio signal. Stable Wi-Fi is essential for a clean download. A weak or intermittent connection mid-download can corrupt the profile, forcing you to request a replacement. Airport Wi-Fi works in a pinch, but your home network before departure is the safest option.
QR code or activation code
Your eSIM provider will send you either a QR code or a manual activation code after purchase. Keep both the email and a screenshot accessible. Some providers also offer carrier activation directly through the device settings, which skips the QR step entirely.
Region restrictions to know
Certain regions have specific rules. Mainland China, for example, has restrictions on eSIM usage that differ from Hong Kong and Macau. Always check your provider’s coverage map and terms before purchasing. You can review eSIM travel options for region-specific details.
Pro Tip: Download your eSIM profile on a reliable Wi-Fi network at home before you travel. Activating abroad on unfamiliar networks adds unnecessary risk.
| Requirement | Details |
|---|---|
| Device | eSIM-compatible, carrier-unlocked |
| Connection | Stable Wi-Fi (home network preferred) |
| Activation method | QR code, manual code, or carrier activation |
| Provider info | Coverage map, APN settings, support contact |
Step-by-step eSIM activation for iPhone and Android
With prerequisites checked, here is how to activate your eSIM step by step on any major device.
iPhone activation
Apple’s process is consistent across recent models. Follow these steps:
-
Connect to a stable Wi-Fi network.
-
Open Settings, then tap Cellular.
-
Tap Add eSIM (or “Add Cellular Plan” on older iOS versions).
-
Choose your method: scan a QR code, enter a code manually, or use carrier activation.
-
Follow the on-screen prompts to label the plan and set data preferences.
-
Tap Done when the profile installs.
iPhone activation steps require Wi-Fi and either a QR code or carrier activation to complete the profile download.
Android activation (Samsung and Pixel)
Android steps vary slightly by manufacturer, but the logic is the same.
-
Connect to Wi-Fi.
-
Open Settings.
-
For Samsung: tap Connections, then SIM Manager, then Add eSIM.
-
For Pixel: tap Network & Internet, then SIMs, then Add eSIM.
-
Scan the QR code from your provider.
-
Confirm the installation and label the plan.
Pixel eSIM activation follows the Settings > Network & Internet > SIMs path to add a new profile.
Important: QR codes are time-sensitive. Most expire between 30 and 90 days after issue. If you purchased your eSIM weeks ago and haven’t activated it yet, verify the code is still valid before your departure date.
| Step | iPhone (iOS) | Android (Samsung/Pixel) |
|---|---|---|
| Open settings | Settings > Cellular | Settings > Connections or Network & Internet |
| Add plan | Add eSIM | SIM Manager or SIMs > Add eSIM |
| Activation method | QR code, manual, or carrier | QR code scan |
| Label plan | Yes, during setup | Yes, during setup |
For trips covering multiple countries, global travel eSIM options and eSIM for multiple destinations let you load a single profile that works across regions without switching plans.
Pro Tip: Expired QR codes are one of the top reasons activation fails. Check the issue date on your provider’s confirmation email and request a fresh code if you are close to the expiry window.
Managing dual SIMs and setting up for travel
Once your eSIM is active, managing both lines wisely ensures hassle-free connectivity wherever you go.
Most modern phones allow you to run a physical SIM and an eSIM simultaneously. This is useful for keeping your home number active for calls and texts while using a local or regional eSIM for data. Dual SIM usage enables labeling, data line selection, and data roaming management, all from a single settings menu.
How to configure dual SIM for travel
-
Label your plans clearly. Use names like “Personal” for your home SIM and “Travel” for your eSIM. This prevents confusion when selecting which line to use for calls or data.
-
Set your travel eSIM as the default data line. When abroad, your home SIM’s data roaming rates can be expensive. Switching default data to your travel eSIM keeps costs predictable.
-
Enable data roaming on your travel eSIM. Some devices disable roaming by default. Go to your cellular settings, select the travel eSIM, and confirm data roaming is switched on.
-
Manage calls and texts separately. You can keep your home SIM active for incoming calls while routing all data through the travel eSIM.
-
Check your provider’s APN settings. APN (Access Point Name) settings tell your device how to connect to the carrier’s data network. Your provider will supply these if they are not configured automatically.
For regional travel, Europe travel eSIM plans cover 40 countries on a single profile. For destinations with stricter connectivity rules, review China region eSIM options before you arrive.
Pro Tip: Practice switching your default data line at home before your trip. The process takes under 30 seconds once you know where to find it, but fumbling through menus at an airport is not the time to learn.
Troubleshooting eSIM activation and common mistakes
Even with careful setup, some travelers face issues. Here is how to fix them fast.
Common mistakes that cause activation failure
-
Using unstable or public Wi-Fi during profile download
-
Ignoring QR code expiry dates
-
Forgetting to enable data roaming after activation
-
Purchasing an eSIM that does not cover your destination region
-
Not updating device software before starting activation
Step-by-step troubleshooting
-
Toggle Airplane Mode. Turn it on for 30 seconds, then off. This resets your device’s connection to the carrier network.
-
Restart your device. A full restart clears temporary software conflicts. Over 60% of eSIM issues are resolved by a simple restart, per Apple support data.
-
Check for software updates. Outdated iOS or Android versions can block eSIM profile installation. Update before trying again.
-
Verify APN settings. Your provider’s APN details must match what is configured in your cellular settings. Incorrect APN settings prevent data from working even after a successful profile install.
-
Delete and reinstall the eSIM profile. If the profile appears corrupted, remove it and request a fresh QR code from your provider.
-
Contact your provider’s support. Most reputable providers offer live chat or email support. Have your order number and device model ready.
For region-specific issues, Caribbean travel eSIM troubleshooting resources can help identify local carrier restrictions.
Pro Tip: If all else fails, contact your eSIM provider before assuming the product is defective. Most issues are configuration errors that support teams resolve in minutes.
Our expert perspective: Getting the most from eSIM as a traveler
The technical steps are straightforward once you have done them once. What most guides skip is the operational discipline that separates smooth trips from stressful ones.
The single most impactful habit is activating your eSIM profile before you leave home. Wi-Fi installation pre-travel on a known network eliminates the biggest variable in the process. Travelers who activate at the airport or on arrival are betting on unfamiliar Wi-Fi, time pressure, and stress. That is a poor combination.
Second, if you are transiting through multiple regions, download profiles for each leg in advance. Switching between a Europe plan and an Asia plan mid-trip is seamless if both profiles are already on your device. Doing it on the fly wastes time.
Third, pricing and coverage details change. Never assume last month’s plan still applies. Confirm coverage maps and data limits directly with your provider before each trip. Global eSIM travel expertise from a dedicated platform gives you verified, up-to-date options rather than outdated forum posts.
Finally, treat your QR code like a boarding pass. Store a screenshot offline. Email access is not guaranteed when you need it most.
Get seamless connectivity with global eSIM solutions
Knowing how to activate and manage your eSIM puts you ahead of most travelers. The next step is choosing the right plan for your destination.

EsimGlobe provides instant eSIM profiles for 170+ countries, with options ranging from single-country plans to global eSIM coverage across 130+ regions. Purchases are secure, delivery is instant, and activation follows the exact steps covered in this guide. For travelers heading to Asia, China eSIM solutions are available with region-specific guidance. Start at esimglobe.com to compare plans, check coverage, and get connected before your next departure.
Frequently asked questions
Can I activate an eSIM while abroad or must it be done at home?
You can activate your eSIM abroad, but downloading your profile at home on stable Wi-Fi is safer and avoids connectivity gaps on arrival. Pre-travel Wi-Fi activation is the recommended approach.
What if my phone is carrier-locked?
Carrier-locked phones may reject third-party eSIM profiles. Contact your carrier to confirm unlock status or purchase a compatible eSIM directly from your home carrier.
How long is my QR code valid for eSIM activation?
Most QR codes are valid for 30 to 90 days after issue. Check your provider’s confirmation email for the expiry date and request a replacement if needed.
How do I use both SIM and eSIM while traveling?
Label your plans, set your travel eSIM as the default data line, and enable data roaming in your cellular settings for uninterrupted connectivity abroad.
What should I do if my eSIM doesn’t activate?
Restart your device, toggle Airplane Mode, check for software updates, and verify APN settings. If the issue persists, contact your provider’s support with your order number and device model.
Recommended
-
Buy Australia New Zealand eSIM for travel - Australia & New Zealand 1GB 7Days – Esimglobe
-
Buy Global (130+ areas) eSIM for travel - Global139 1GB 7Days – Esimglobe
-
Buy Global (120+ areas) eSIM for travel - Global (120+ areas) 1GB 7Days – Esimglobe
-
Buy Caribbean 20+ eSIM for travel - Caribbean (20+ areas) 1GB 7Days – Esimglobe