






















Yes. For most international trips longer than a single day, switching to a prepaid travel eSIM is the cheapest and fastest way to get reliable mobile data abroad. Buy a country or regional prepaid eSIM from Esimglobe, install the QR profile before you leave, and you have working data the moment you land.
Who benefits most:
- Short to medium trips (2–30 days) to a single country or region
- Multi-country itineraries where one regional plan covers all stops
- Digital nomads who need consistent 4G/5G without hunting for local SIM vendors
- Business travelers who need data immediately on arrival without airport queues
Prepaid travel eSIMs typically cost a small fraction of carrier roaming day passes, saving 80–95% for many trips. Delivery is instant: a QR code arrives by email, and the install takes under two minutes.
Table of Contents
- Why should you switch to a prepaid travel eSIM?
- Does your phone support eSIM? Checks to run before you buy
- How to switch to a prepaid travel eSIM, step by step
- What makes a travel eSIM provider worth trusting?
- How long does installation take, and what does it cost?
- Common problems when switching to a travel eSIM, and how to fix them
- Is buying a travel eSIM online secure?
- Key Takeaways
- What travelers consistently get wrong
- Ready to get connected? Here’s how Esimglobe works at checkout
- Useful sources and further reading
- FAQ
Why should you switch to a prepaid travel eSIM?
The core case is financial. Carrier roaming day passes often cost $10–$15 per day. A prepaid travel eSIM for the same destination is usually just a few dollars for the whole trip, delivering real savings for trips of several days. More importantly, the prepaid model enforces a hard spending limit: you pay upfront for a fixed data bundle and cannot exceed it without buying more. No surprise charges appear on your home bill.
Beyond cost, the setup speed matters. Modern providers send a QR code by email at checkout. Scan it in Settings, confirm the install, and the profile is on your device. The installation process is typically very quick, often under two minutes, and can be done at home on Wi-Fi before packing.
Additional practical advantages:
- Keep your home number active on your physical SIM for calls and SMS while data runs through the eSIM
- Choose local, regional, or multi-country plans depending on your itinerary
- Access 4G/5G speeds through local carrier partners rather than throttled roaming connections
- No airport SIM kiosks, no language barriers, no waiting
Pro Tip: Buy and install your eSIM profile at home, not at the airport. The profile sits dormant on your device until you enable it on arrival, so there is zero risk of it activating early.
Travel eSIMs are data-only. They do not replace your home number for voice calls or SMS. For calls abroad, use a VOIP app like WhatsApp or FaceTime over the eSIM data connection while your physical SIM stays active for incoming messages.
Does your phone support eSIM? Checks to run before you buy
Not every device supports eSIM, and not every supported device is unlocked for third-party profiles. Run these checks before purchasing.
Compatibility check:
- iPhone: — Go to Settings > General > About. If “Available SIM” or “Digital SIM” appears, eSIM is supported. Most iPhone XS and later models qualify.
Pro Tip: Apple’s support pages list carrier-by-carrier eSIM compatibility for every iPhone model. Check there for your specific device if you are unsure whether your carrier allows third-party travel eSIMs.
One OS-level quirk worth knowing: some Android manufacturers (notably certain Huawei and older Motorola models) support eSIM hardware but disable the software interface. If the “Add SIM” option is missing, check the manufacturer’s support page before assuming incompatibility.
How to switch to a prepaid travel eSIM, step by step
| Step | Action | Typical time |
|---|---|---|
| 1. Choose plan | Select country, region, or global plan; pick data size | A few minutes |
| 2. Checkout | Pay and receive QR by email | Moments |
| 3. Install profile | Scan QR in Settings; confirm install | Moments |
| 4. Configure settings | Set mobile data to eSIM; disable home SIM roaming | A short time |
| 5. Test and verify | Test connectivity on Wi-Fi; check signal on arrival | A few minutes |

Step 1: Choose the right plan. Single-country plans cost less and often run on stronger local networks. Regional plans cover multi-stop trips under one purchase. Match the validity period to your trip length with a small buffer.
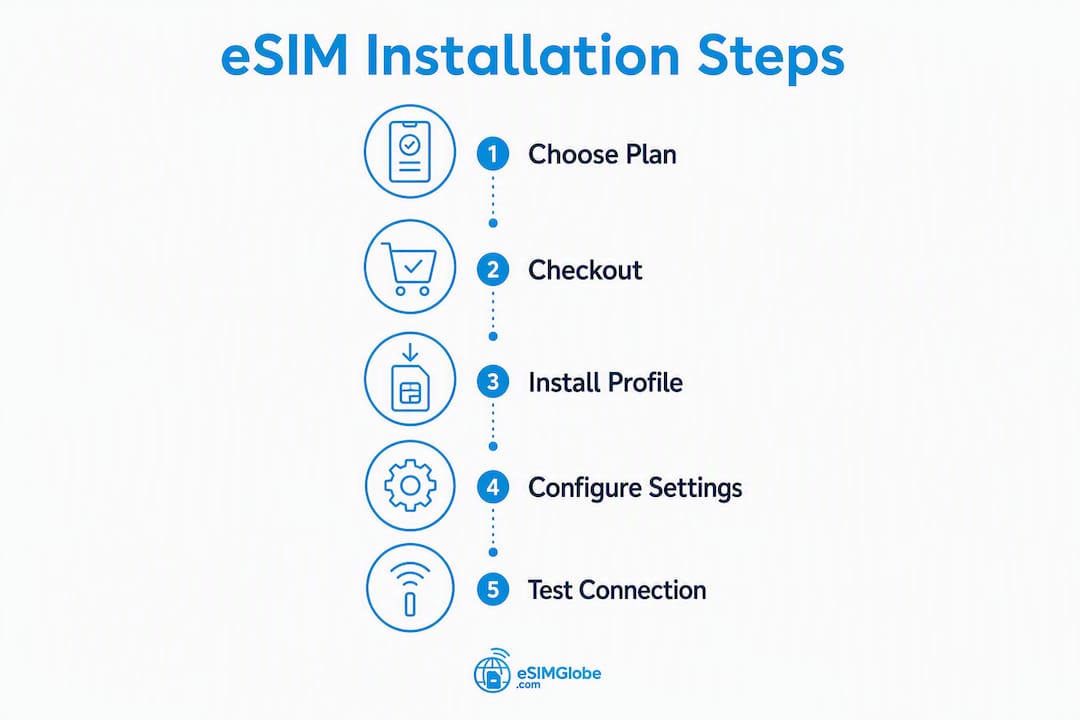
Step 2: Checkout and delivery. Complete the secure checkout. The QR code arrives by email within minutes. Save that email. You will need the QR and your order ID if anything goes wrong.
Step 3: Install the profile. On iPhone: Settings > Cellular > Add eSIM > Use QR Code. On Android: Settings > Network & Internet > Add SIM > Scan QR. Do this at home on Wi-Fi. The profile installs but does not activate until you turn it on.
Step 4: Configure your settings. This step prevents the most common billing mistake. Set “Mobile Data” to your eSIM profile. Then go to your home SIM settings and turn off “Data Roaming.” Both actions are required. Skipping either one risks data charges on your home plan.
Step 5: Test before departure. With the eSIM enabled and mobile data assigned to it, open a browser and load a page. If it loads, the profile is working. On arrival, toggle airplane mode off, wait for the eSIM to register on the local network, and run the same test.
Pro Tip: If data does not flow on arrival, check the APN settings. Some plans require a manual APN entry, which the provider lists in the confirmation email or support page.
What makes a travel eSIM provider worth trusting?
The headline price is rarely the right filter. A plan that costs less but connects through a weak local partner network delivers a worse experience than a slightly pricier plan on a strong carrier.
- Delivery and support: — Instant QR delivery by email and 24/7 customer support are non-negotiable for travel. Refund and top-up policies matter if your trip extends or data runs short.
- Trust signals: Secure HTTPS checkout, documented partner networks, and clear support channels. Esimglobe covers all of these, with plans for 170+ countries and global travel eSIM options that list coverage details before purchase.
How long does installation take, and what does it cost?
| Plan type | Typical price range | Install time | Time to active data |
|---|---|---|---|
| Single-country (about a week) | Moderate cost | Quick | Instant on arrival |
| Regional (around two weeks) | Moderate to higher cost | Quick | Instant on arrival |
| Multi-country global | Higher cost | Quick | Instant on arrival |
These reflect common prepaid travel eSIM pricing which varies by destination, data size, and provider.
The total time from purchase to working data is under 10 minutes when you install at home. Compare that with a roaming day pass at $10–$15 per day: a 10-day trip can cost $100–$150 in roaming fees versus just a few dollars for a prepaid travel eSIM. The prepaid model also removes the risk of bill shock entirely. You spend what you choose upfront, and the plan stops when the data or validity runs out.
For a detailed cost breakdown, the Esimglobe guide on eSIM vs. roaming costs walks through destination-specific comparisons.
Common problems when switching to a travel eSIM, and how to fix them
No signal after activation: Turn airplane mode on, wait 10 seconds, then turn it off. If the eSIM profile is enabled and mobile data is assigned to it, the device will search for the local partner network. If it still shows no service, go to Settings > Cellular > Network Selection and choose the carrier manually.
QR code won’t scan: Clean the camera lens, increase screen brightness on the device displaying the QR, and try again. If scanning still fails, use the manual activation link in the confirmation email. Most providers also offer app-based installs as a fallback. Keep your order ID ready.
Data still billing to your home carrier: This is the most common mistake. Verify two settings: mobile data is assigned to the eSIM profile, and data roaming is off for the home SIM. Both must be set correctly.
Hotspot or tethering not working: Check the plan terms first. Some prepaid travel eSIMs restrict tethering. If tethering is allowed, verify the APN settings match the provider’s documentation. A secondary plan with explicit hotspot support may be needed for heavy tethering use.
If nothing works: Contact 24/7 support with your device model, OS version, order ID, and a screenshot of your cellular settings. This information cuts resolution time significantly.
Is buying a travel eSIM online secure?
Buying from a reputable provider is safe. A few markers to verify:
- HTTPS checkout: The payment page URL starts with “https://”. Never enter payment details on an unencrypted page.
- Minimal personal data: Legitimate providers need an email address for QR delivery and payment details. Requests for passport scans or unusual documents at checkout are a red flag.
- QR delivery by email: Activation QR codes arrive from the provider’s official domain. Be cautious of unsolicited SMS links claiming to be eSIM activations.
- Clear privacy policy: The provider should document how payment and personal data are handled.
- ID requirements: Rare for prepaid travel eSIMs, but some local carrier partners in specific countries require ID to comply with local regulations. This is disclosed at checkout when applicable.
Avoid resellers with opaque pricing, no verifiable coverage maps, or no listed support contact. If a deal looks unusually cheap with no explanation, the network quality usually explains the gap.
Key Takeaways
Switching to a prepaid travel eSIM is the fastest and most cost-controlled way to get mobile data abroad, with installation under two minutes and savings of 80–95% compared to carrier roaming day passes.
| Point | Details |
|---|---|
| Cost savings | Prepaid travel eSIMs typically offer savings of 80–95% compared to carrier roaming day passes on most trips. |
| Install time | Purchase to working data takes under 10 minutes; the QR profile installs in under 2 minutes. |
| Pre-travel checklist | Confirm eSIM compatibility, check destination coverage, and match validity to your trip length. |
| Critical settings | Set mobile data to the eSIM profile and turn off data roaming on your home SIM before departure. |
| Esimglobe | Offers prepaid eSIM plans for 170+ countries with instant QR delivery, multi-currency checkout, and 24/7 support. |
What travelers consistently get wrong
The cheapest plan is rarely the best plan. The most common mistake is buying the lowest-priced option without checking which local carrier it connects through. A plan that routes through a secondary network in your destination can mean slow speeds or patchy coverage in exactly the areas you need it most.
Buy slightly more data than you estimate. Running out mid-trip and troubleshooting a top-up from a foreign country wastes time. A buffer of 20–30% over your expected usage costs a few dollars and removes the risk entirely.
Esimglobe lists network partners and coverage maps for every destination before purchase. Plans cover 170+ countries, deliver by QR to email instantly, and include 24/7 support if anything goes wrong. For business travelers who need reliability above all else, the best eSIM for business travel guide covers plan selection criteria specific to professional use.
Ready to get connected? Here’s how Esimglobe works at checkout
Esimglobe gives travelers a direct path from decision to working data, without the guesswork of roaming plans or airport SIM queues.
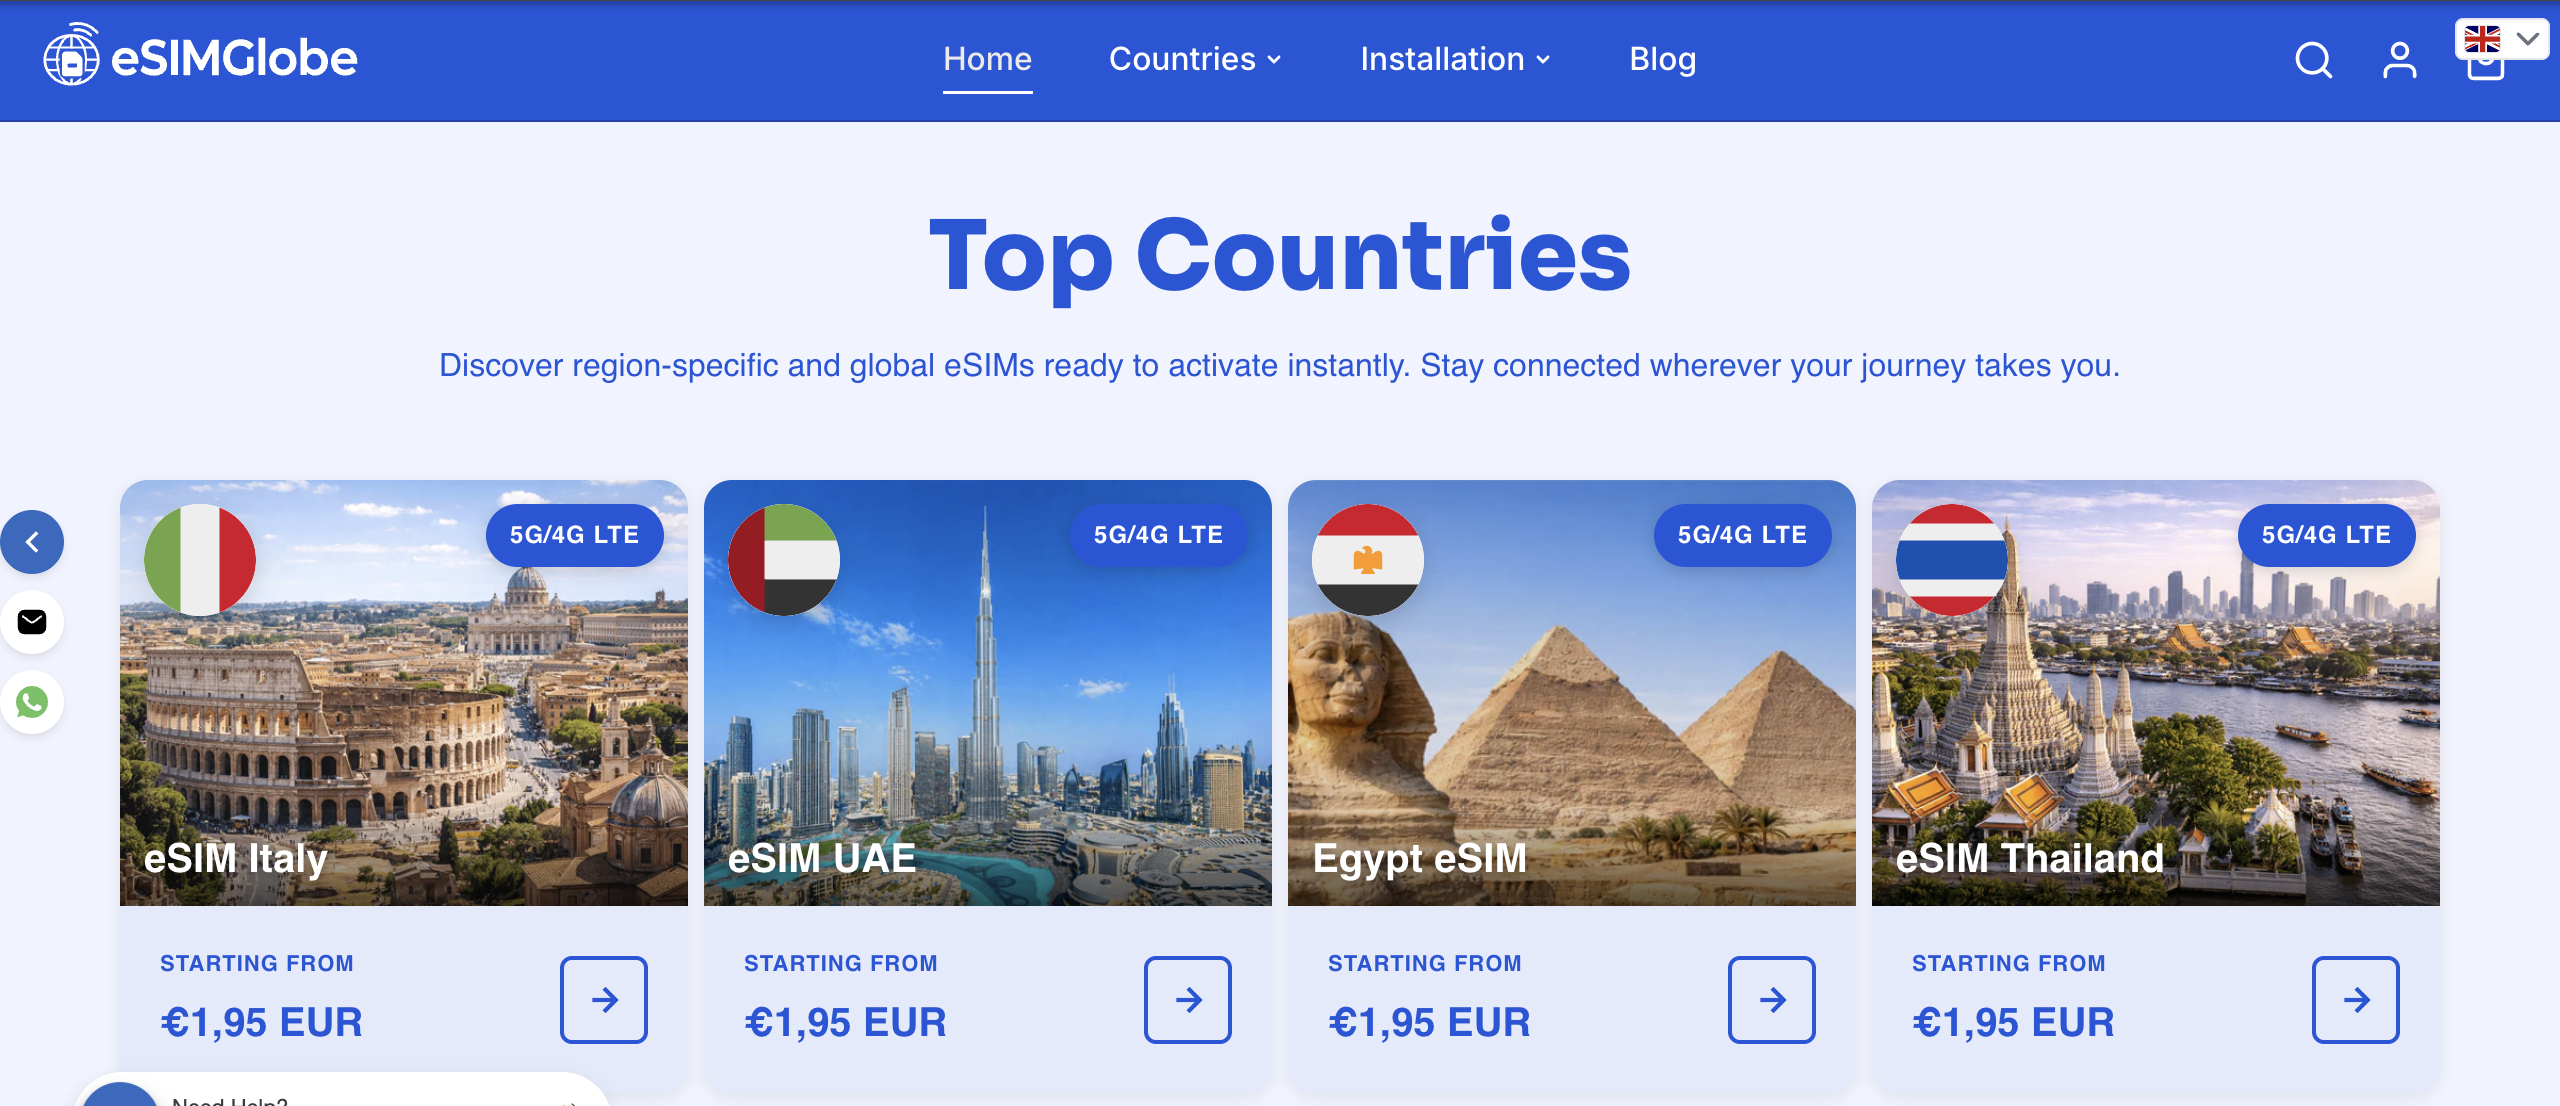
Select your destination country or region, choose a data size and validity period that fits your trip, and pay in USD, EUR, GBP, or another supported currency. The QR code arrives by email within minutes. Install it at home, configure your settings, and your data connection is ready the moment you land.
Checkout is secure, pricing is transparent, and no subscription is required. If you need more data mid-trip, top-up options are available. For questions before or after purchase, 24/7 customer support is available through Esimglobe’s help channels.
Browse prepaid eSIM plans for your next destination and install before you travel.
Useful sources and further reading
- Apple Support (eSIM on iPhone): — Apple’s official pages document eSIM compatibility by carrier and model, and provide device-specific activation steps. Start here for any iPhone-specific install questions.
- Esimglobe help center: Activation guides, APN settings by destination, and direct support contact are available at esimglobe.com.
- Esimglobe travel tips guide: The eSIM travel tips article covers pre-travel checklists and common configuration steps in plain language.
FAQ
Can I switch to an eSIM if my phone is carrier-locked?
No. A carrier-locked device cannot install third-party eSIM profiles. Contact your carrier to confirm unlock status before purchasing a travel eSIM.
How long does it take to install a travel eSIM?
The QR profile installs in under two minutes. Total time from purchase to working data, including settings configuration, is typically under 10 minutes.
Will a travel eSIM work for calls and texts?
Most prepaid travel eSIMs are data-only. Keep your physical SIM active for incoming calls and SMS, and use a VOIP app for outgoing calls over the eSIM data connection.
What happens if my data runs out mid-trip?
With Esimglobe, top-up options are available. Buying a slightly larger plan upfront is the simpler approach, since top-ups require a data connection or Wi-Fi to purchase.
Is it safe to buy an eSIM online?
Yes, from a reputable provider with HTTPS checkout, clear pricing, and documented support. Avoid sellers with no verifiable coverage maps or requests for unusual personal documents at checkout.