






















TL;DR:
- Preparing your mobile device before international travel prevents unexpected charges and connectivity issues. It involves unlocking your phone early, installing your eSIM at home, and configuring settings for cost control and security. Using a systematic checklist ensures reliable connection and digital safety during your trip.
A mobile data checklist for travelers is a structured set of steps that covers device preparation, plan selection, phone configuration, and digital security before and during an international trip. Without this preparation, travelers risk unexpected roaming charges, lost account access, and connectivity gaps at the worst possible moments. eSIM technology, two-factor authentication (2FA) dependencies, and carrier-specific roaming policies make pre-trip planning more consequential than ever. The good news: most setup tasks take under 15 minutes when done systematically at home, well before departure.

1. What are the essential pre-travel mobile data preparation steps?
Pre-trip preparation is the foundation of every reliable mobile internet checklist. Skipping even one step can mean arriving at your destination without data, locked out of accounts, or facing a surprise bill.
Check your phone’s unlock status early
Phone unlocking requests can take multiple business days to process. A locked phone cannot use a travel eSIM or a local SIM card, which eliminates your two most cost-effective connectivity options. Submit the unlock request to your carrier at least one week before departure, then confirm the unlock is complete before you board.
Review your actual data usage
Travelers consistently misjudge how much data they need. Reviewing three months of actual usage on your carrier’s app gives you a reliable baseline. That number tells you whether a 3 GB plan will cover you or whether you need 10 GB or more.
Install your travel eSIM before the flight
Activating an eSIM after landing is less reliable than pre-installation. Airport Wi-Fi is inconsistent, and activation errors are harder to troubleshoot when you are already in transit. Install and activate your destination eSIM at home, where you have stable Wi-Fi and time to fix any issues.
Back up critical documents and credentials
Store passport photos, visa confirmations, hotel bookings, and insurance details in both a cloud service (Google Drive, iCloud, or Dropbox) and a local offline copy on your device. Back up 2FA codes and recovery keys before you leave. Losing access to an authenticator app abroad is a serious problem if you have no backup.
Enable Wi-Fi calling on your home line
Wi-Fi calling must be activated before departure, not after. When enabled, your US number can make and receive calls over hotel or café Wi-Fi without triggering international roaming charges. Check that the feature is turned on in your phone’s settings and confirmed active with your carrier.
Pro Tip: Test your eSIM activation and Wi-Fi calling at home two days before departure. A quick five-minute test call over Wi-Fi confirms everything works before you actually need it.
2. How to select the best mobile data plan for international travel
Choosing the right plan is the most consequential decision in any mobile roaming guide. The wrong choice costs money; the right one keeps you connected without surprises.
eSIMs vs. roaming passes
eSIM technology lets you activate a destination data plan digitally, without swapping physical SIMs. Roaming passes from your home carrier add international data to your existing plan, typically at a daily or weekly flat rate. eSIMs generally offer better per-GB value for trips longer than a few days. Roaming passes are convenient for very short trips where simplicity outweighs cost savings.
The table below compares the two approaches across the factors that matter most to travelers:
| Factor | Travel eSIM | Home carrier roaming pass |
|---|---|---|
| Cost per GB | Lower for most destinations | Higher, especially in Asia and Latin America |
| Setup effort | Requires pre-trip install | Minimal, activated via carrier app |
| Number of lines | Separate data line, home number stays active | Single line, all-in-one |
| Flexibility | Choose plan size and duration | Fixed daily or weekly rate |
| Best for | Trips of 5+ days, data-heavy travelers | Short trips, light users |
Check coverage at the specific location, not the country
Coverage quality varies significantly within a country. A plan rated “excellent” for a major city may deliver weak signal in rural areas or coastal towns. Check the carrier’s coverage map for the exact cities and regions you plan to visit, not just the country name.
Understand hotspot and throttling terms
Many travelers overlook hotspot allowances and network prioritization when comparing plans. A 10 GB plan with no hotspot access is useless if you need to connect a laptop. A plan with “unlimited” data but aggressive throttling after 2 GB will feel like no data at all. Read the fine print on both before purchasing.
Pro Tip: For trips spanning multiple countries, look for regional eSIM plans that cover your entire itinerary under one plan. Buying separate plans per country adds cost and complexity.
For a full breakdown of what to look for before purchasing, the eSIM purchasing tips guide from Esimglobe covers compatibility, plan sizing, and cost-saving approaches in detail.
3. How to configure your device settings for cost control abroad
Correct device configuration is what separates travelers who avoid roaming charges from those who get a surprise bill. The settings below form the core of any practical travel mobile data tips list.
Set your eSIM as the primary data line
On dual-SIM phones, you must manually assign which line handles cellular data. Set your travel eSIM as the primary data line immediately after activation. Leave your home SIM active for calls and SMS only. This configuration gives you local data rates while keeping your US number reachable for calls and 2FA messages.
Turn off cellular data roaming on your home SIM
Disabling data roaming on your home SIM prevents accidental data charges, but calls and SMS can still incur costs if not configured carefully. Go to Settings > Cellular > your home SIM line > turn off “Data Roaming.” Do not turn off the line entirely, because you still need it to receive 2FA codes via SMS.
A critical point many travelers miss: simply disabling roaming does not eliminate all charges. You also need to confirm line prioritization and Wi-Fi calling are set correctly to avoid incidental fees.
Keep your home SIM active for calls and SMS
Keeping your home SIM active without cellular data but with calls and SMS enabled is the correct configuration. Many travelers turn off their home SIM entirely to avoid charges, then miss critical 2FA codes sent by their bank or email provider. The right move is data off, calls and SMS on.
Restrict background app data
Apps like Instagram, Google Photos, and Spotify sync data in the background even when you are not using them. On iOS, go to Settings > Cellular and toggle off background data for non-essential apps. On Android, use Data Saver mode to block background usage across all apps. This alone can extend a 5 GB plan by several days on a typical trip.
The table below shows which settings to change and where to find them:
| Setting | iOS location | Android location |
|---|---|---|
| Primary data line | Settings > Cellular > Cellular Data | Settings > Network > SIM Management |
| Data roaming off (home SIM) | Settings > Cellular > [Home SIM] > Data Roaming | Settings > Network > Mobile Network > Roaming |
| Wi-Fi calling | Settings > Phone > Wi-Fi Calling | Settings > Network > Wi-Fi Calling |
| Background app data | Settings > Cellular > [App toggle] | Settings > Network > Data Saver |
Pro Tip: After landing, send a test SMS and make a short Wi-Fi call to confirm both lines are working as expected. Catching a misconfiguration at the airport is far easier than troubleshooting it at your hotel.
4. What digital security practices belong on every travel checklist?
Mobile security is a non-negotiable part of any complete mobile internet checklist. Theft, device loss, and unsecured networks are real risks that a few pre-trip steps can largely neutralize.
Secure your device with a strong PIN or biometrics
A six-digit PIN is the minimum. Face ID and fingerprint unlock are faster and equally secure for most travel scenarios. Avoid four-digit PINs, which are vulnerable to shoulder-surfing in crowded transit hubs. Enable auto-lock after 30 seconds of inactivity.
Back up in two places
Backing up critical documents in both cloud storage and an offline copy on your device protects you from two different failure modes: no internet access and device loss. A cloud-only backup is useless if you cannot get online. An offline-only backup is gone if your phone is stolen.
Use a VPN on public Wi-Fi
VPNs protect sensitive account activity on public networks, including hotel Wi-Fi, airport lounges, and café hotspots. Install and test your VPN before departure. Free VPNs often log data or throttle speeds; a paid service like ProtonVPN or Mullvad is worth the cost for frequent travelers.
Prepare for account recovery
Write down backup codes for your most critical accounts (Google, Apple ID, banking apps) and store them separately from your phone. If your device is lost or stolen, these codes let you regain access from any device. Store them in a password manager or a printed copy kept in your luggage.
Pro Tip: Before leaving home, log into each critical account from a browser and confirm your recovery email and phone number are current. Outdated recovery info is the most common reason travelers get locked out abroad.
For a broader view of how digital preparedness fits into overall trip planning, the travel checklist resource from Next View Tours covers both physical and digital readiness in one place.
5. How much mobile data do travelers typically need?
Estimating data needs accurately is the part of the mobile data checklist most travelers get wrong. The right plan size depends on how you actually use your phone, not on a generic recommendation.
The three usage tiers below cover most traveler profiles:
- Light user (1–3 GB): Messaging apps, occasional maps, and email. No video streaming. Suitable for travelers who rely heavily on hotel Wi-Fi and use mobile data only when out.
- Moderate user (4–8 GB): Regular Google Maps navigation, social media browsing, video calls once or twice per day. The most common profile for leisure travelers on trips of 7–14 days.
- Heavy user (10 GB+): Frequent video streaming, remote work, hotspot sharing with a laptop, or content creation. Digital nomads and business travelers typically fall here.
Several factors push consumption higher than expected when traveling. Navigation apps like Google Maps and Apple Maps use data continuously when routing. Translation apps with camera features consume data on every scan. Automatic photo backups to iCloud or Google Photos can drain gigabytes overnight if not disabled.
Practical steps to stay within your plan:
- Download offline maps in Google Maps or Maps.me before departure for your destination cities.
- Disable automatic photo and video backup until you are on Wi-Fi.
- Set streaming apps like Spotify and YouTube to download content over Wi-Fi only.
- Check your data usage daily in your phone’s settings to catch unexpected consumption early.
- Add a 20% buffer to your estimated need when choosing a plan. Running out of data mid-trip costs more to fix than buying slightly more upfront.
For travelers managing data usage while traveling across multiple countries, a regional eSIM plan with a single data pool is more practical than tracking separate per-country limits. The international traveler’s eSIM guide from Esimglobe covers how to match plan size to trip length and usage profile.
Key Takeaways
A complete mobile data checklist for travelers requires device unlocking, eSIM pre-installation, correct dual-SIM configuration, and digital security backups, all completed before departure.
| Point | Details |
|---|---|
| Unlock your phone early | Submit carrier unlock requests at least one week before travel to avoid last-minute delays. |
| Pre-install your travel eSIM | Install and activate your eSIM at home, not at the airport, to avoid connectivity gaps on arrival. |
| Configure both SIM lines correctly | Set the travel eSIM as primary data, keep home SIM active for calls and SMS only. |
| Back up in two places | Store critical documents and 2FA codes in both cloud storage and an offline copy on your device. |
| Size your plan with a buffer | Add 20% to your estimated data need and check coverage maps for your specific destinations. |
What I’ve learned from watching travelers get this wrong
The travelers who struggle most with mobile connectivity abroad share one trait: they treat phone setup as something to handle at the airport. I have seen people miss entire first days of a trip because their phone was still locked, their eSIM would not activate on airport Wi-Fi, and their bank’s 2FA code was going to a line they had turned off entirely.
The checklist approach works not because it is complicated, but because it forces you to do the right things in the right order, at home, with time to fix problems. Unlocking your phone takes two minutes. Confirming it is actually unlocked takes another two. Most people skip the confirmation step and discover the problem at the worst possible moment.
The eSIM pre-installation step is the one I push hardest. Destination eSIMs activated before departure give you data the moment you land. That first hour in a new country, when you need maps, a translation, or a ride-share app, is exactly when you cannot afford to troubleshoot an activation error.
The security piece gets underestimated consistently. Travelers back up their photos but forget their 2FA codes. They install a VPN but never test it before the trip. A VPN that fails to connect on a hotel network is useless, and discovering that failure when you need it most is a preventable problem.
The personalized travel service benefits that experienced travelers talk about almost always include technology readiness as a core component. The travelers who enjoy their trips most are the ones who handled the logistics before they left.
My honest recommendation: run through this checklist seven days before departure, not the night before. The seven-day window gives you time to unlock your phone, purchase and install an eSIM, test Wi-Fi calling, and fix anything that does not work. The night-before window gives you anxiety.
— daniele
Esimglobe makes pre-trip mobile data setup straightforward
Travelers who want to skip the guesswork on plan selection have a direct path forward with Esimglobe. The platform offers travel eSIMs for destinations worldwide, with plans sized for light, moderate, and heavy users across single countries and multi-country regions.
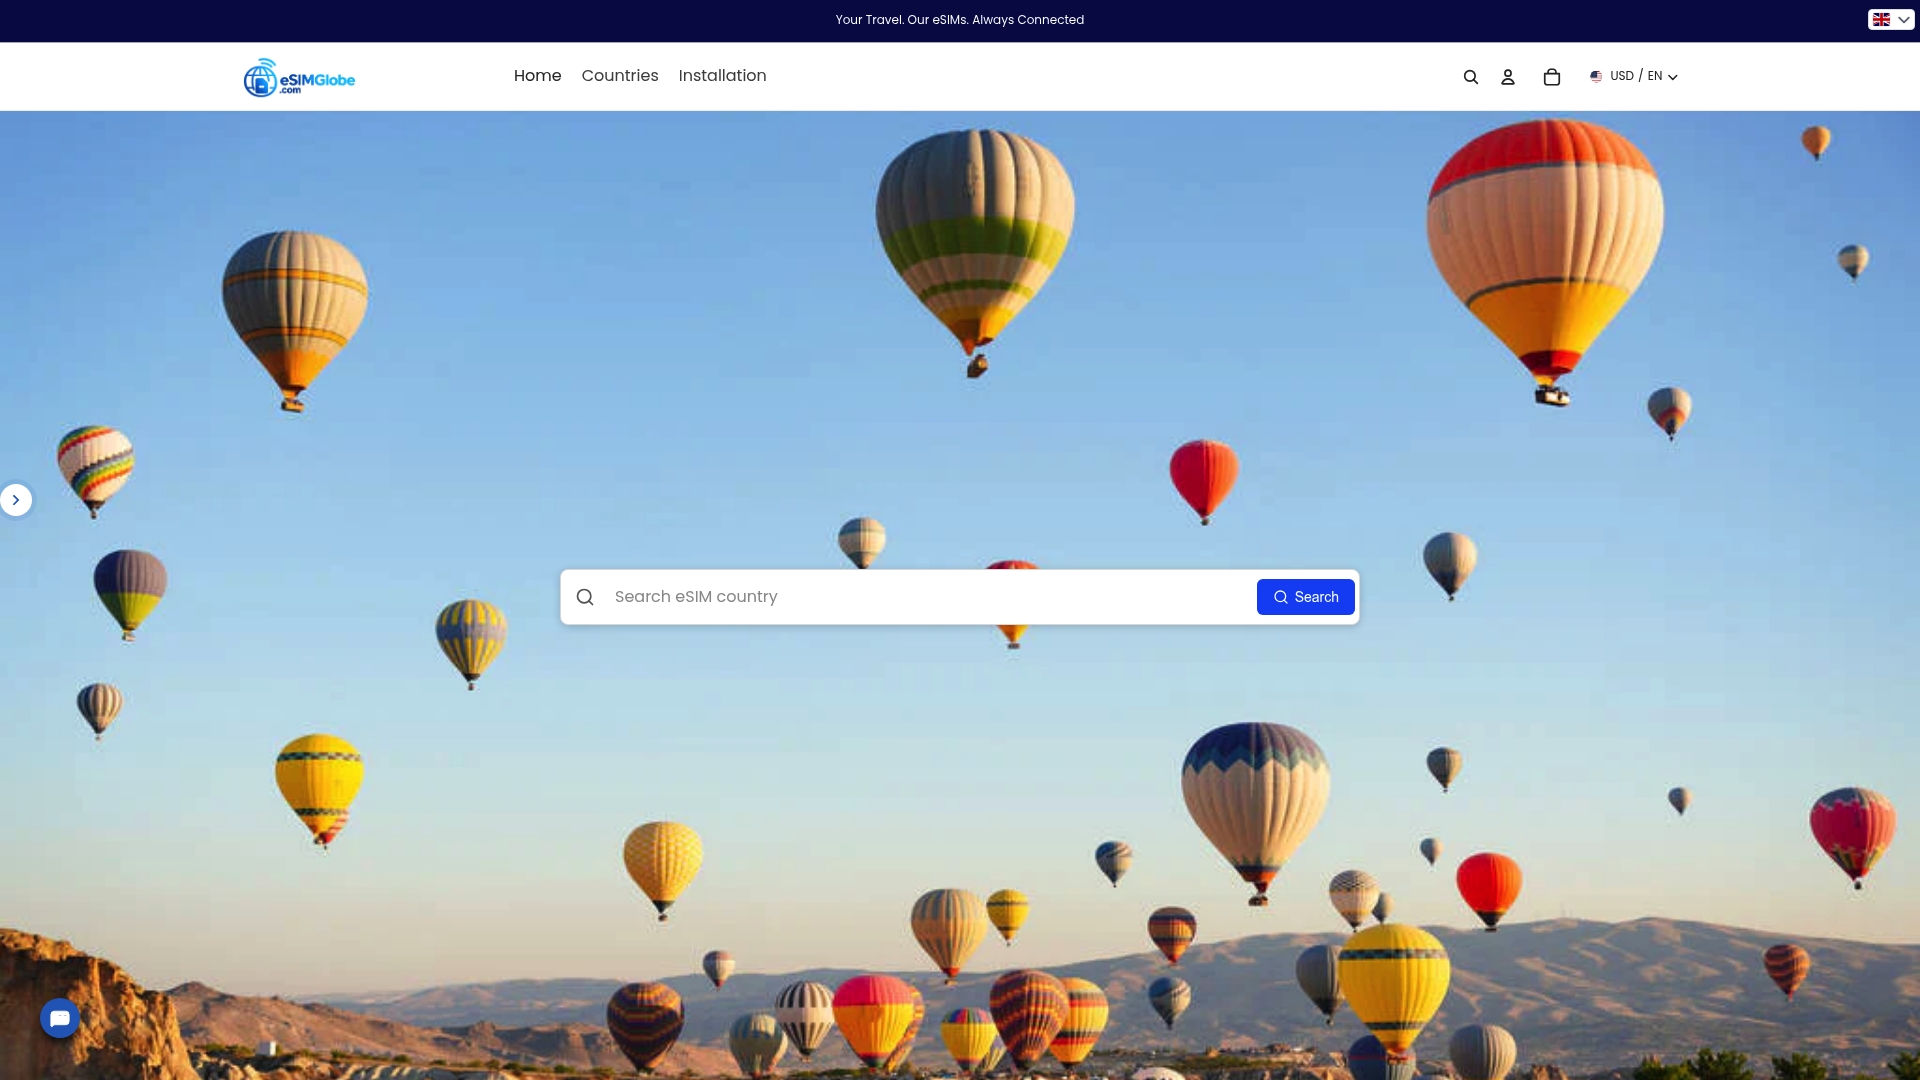
Esimglobe’s setup guides walk you through installation and dual-SIM configuration step by step, covering both iOS and Android devices. The eSIM workflow guide covers the full pre-departure process, from purchase to activation confirmation. For travelers ready to choose a plan, the Esimglobe homepage lists current options by destination, with filters for data size, duration, and region coverage.
FAQ
What is a mobile data checklist for travelers?
A mobile data checklist for travelers is a structured list of steps covering phone unlocking, eSIM or SIM setup, device configuration, and security backups completed before an international trip. It prevents roaming charges and connectivity gaps by addressing every variable in advance.
How early should I set up my travel eSIM?
Install your travel eSIM at least two days before departure. Activation at home on stable Wi-Fi is more reliable than at an airport, and it gives you time to troubleshoot any issues before you actually need data.
Can I keep my US number active while using a travel eSIM?
Yes. On a dual-SIM phone, set the travel eSIM as your primary data line and keep your home SIM active for calls and SMS. This configuration keeps your US number reachable for calls and 2FA codes without triggering data roaming charges on your home plan.
How much data does a typical international traveler need?
Most leisure travelers use between 4–8 GB per week. Light users who rely on Wi-Fi can manage on 1–3 GB. Heavy users who stream video or work remotely typically need 10 GB or more. Reviewing three months of actual usage on your carrier’s app gives the most accurate estimate.
Is a VPN necessary when traveling internationally?
A VPN is necessary when using public Wi-Fi for sensitive activity such as banking, email, or work accounts. Hotel and café networks are unsecured by default. Install and test your VPN before departure so it is ready when you need it.