






















Yes — modern Wi-Fi + Cellular iPad models support eSIM, and getting one working takes minutes. The fastest path: open Settings > Cellular Data, tap Add Cellular Plan, then scan a QR code from your carrier or eSIM retailer, tap an activation link, or use a carrier app. If you bought your iPad from a carrier, eSIM Carrier Activation may start automatically during setup.
Before you do anything, check your model and software:
- Go to Settings > General > About to confirm your iPad model and iPadOS version.
- Confirm your carrier or eSIM retailer supports iPad eSIM activations.
- Have a stable Wi-Fi connection ready for the download.
- Choose your activation method: QR code, carrier app, direct link, or eSIM Carrier Activation.
For travelers and anyone who needs short-term cellular data, prepaid data-only eSIMs from a reputable retailer are the most flexible option. No physical SIM, no long-term contract, and plans are delivered instantly by email.
Table of Contents
- What is an eSIM on iPad, and why does it matter?
- What do you need before activating an eSIM on your iPad?
- How do you activate an eSIM on your iPad?
- How do you manage eSIMs and cellular settings on iPad?
- How do you buy an eSIM for iPad in the United States?
- Using eSIM on iPad when traveling internationally
- Troubleshooting common eSIM problems on iPad
- What to prepare before contacting carrier or Apple Support
- Key Takeaways
- Why prepaid eSIMs make sense for iPad users
- Esimglobe covers iPad eSIM plans for 170+ countries
- Useful sources and where to verify compatibility
- FAQ
What is an eSIM on iPad, and why does it matter?
An eSIM (embedded SIM) is a digital SIM built directly into your iPad’s hardware. There is no physical card to insert or swap. Instead, your carrier or eSIM retailer sends you a digital profile, and you install it through Settings or a QR code.
For iPad users, the practical advantages over a physical SIM are real. Many Wi-Fi + Cellular iPad models can store multiple eSIM profiles simultaneously, so you can pre-load plans for multiple countries before a trip and switch between them in seconds. Activation is faster than visiting a store or waiting for a SIM to arrive by mail. Apple also positions eSIM as a security improvement over physical SIMs, since there is no card to lose, clone, or physically remove from the device.
Apple phased out Apple SIM for new activations after October 1, 2022. Current eSIM workflows — QR code, carrier app, activation link, and eSIM Carrier Activation — are the standard going forward and support 5G networks where available.
Key fact: Some recent iPad models, including certain iPad Pro M4, iPad Air M2, and iPad mini A17 Pro families, are eSIM-only. They have no physical SIM tray at all. If your iPad is eSIM-only, a physical SIM card is not an option regardless of the carrier.
What do you need before activating an eSIM on your iPad?
Getting activation right the first time comes down to four things: the right device, the right software, a compatible carrier, and a stable connection. Check each one before you start.
Device and software
- Model check: — Go to Settings > General > About > Model Name. Only Wi-Fi + Cellular iPad models support eSIM. Wi-Fi-only models do not have cellular hardware.
- Apple ID: — You need an active Apple ID signed in on the device.
Carrier and connection
- Carrier support: — Confirm your carrier or eSIM retailer supports iPad eSIM activations in the U.S. or your travel destination. Not all carriers that support iPhone eSIM also support iPad eSIM.
Before you start
| Pre-activation step | Why it matters |
|---|---|
| Note your IMEI/MEID | Support agents need this to verify your device |
| Back up your iPad | Precaution before any network configuration change |
| Have your order confirmation ready | QR codes and activation links are usually in the email |
| Check available storage | eSIM profiles take minimal space, but a full device can cause install errors |
How do you activate an eSIM on your iPad?
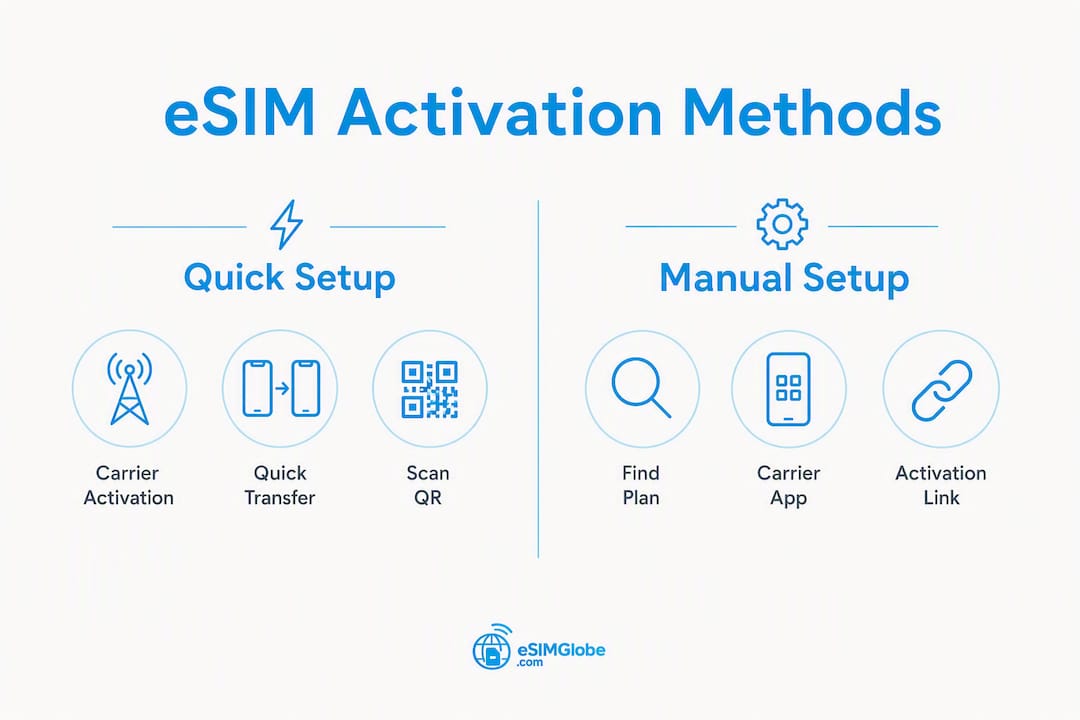
Six activation methods exist. For travelers buying a prepaid plan online, the QR code or activation link method is usually fastest. For iPads purchased directly from a carrier, eSIM Carrier Activation handles setup automatically.

Method 1: eSIM Carrier Activation
If a carrier assigned an eSIM to your iPad at purchase, the device installs it automatically during initial setup. Follow the onscreen prompts — no QR code or app needed. This is the default out-of-box experience for carrier-purchased iPads.
Method 2: Transfer from another iPad (Quick Transfer)
Some carriers support transferring an existing eSIM plan from one iPad to another without calling support.
- Start setup on the new iPad.
- When prompted, select Transfer from Another iPad.
- Keep both iPads close together and follow the onscreen steps.
- Confirm the transfer on the old device.
Carrier support for Quick Transfer varies. Check with your carrier before relying on this method.
Method 3: Join an existing iPhone plan
When your carrier supports it, you can add your iPad to an iPhone’s existing cellular plan.
- Go to Settings > Cellular Data > Add Cellular Plan.
- Select Join an Existing Plan (if your carrier supports this option).
- Follow the carrier’s steps to link the devices.
Not all U.S. carriers offer this for iPad. Verify before attempting.
Method 4: Find a New Plan in Settings
- Open Settings > Cellular Data.
- Tap Add Cellular Plan, then Find a New Plan.
- The iPad presents a list of local carriers available for direct purchase and install.
- Select a plan, complete payment, and the eSIM installs automatically.
This is useful when you want to browse carrier options directly from the device without a QR code.
Method 5: Scan a QR code
This is the most common method for prepaid eSIMs purchased online.
During setup:
- When the setup assistant asks about cellular, tap Use QR Code.
- Point the camera at the QR code in your order confirmation email or printed card.
After setup:
- Go to Settings > Cellular Data > Add Cellular Plan.
- Tap Use QR Code and scan.
On iPadOS 17.4 or later: Long-press a QR code image in an email or on a webpage and tap Add eSIM. No need to open Settings separately.
Method 6: Use a carrier app or activation link
- Download the carrier’s app from the App Store, or tap the activation link in your order confirmation email.
- Open the app or link and follow the prompts to install the eSIM.
- When asked, allow the eSIM installation in the system dialog.
Pro Tip: After activation, toggle airplane mode off and on, then open a browser to confirm data is routing correctly. If your iPad has a physical SIM tray, do not remove the physical SIM unless you intend to replace it permanently — some carriers deactivate the physical SIM when an eSIM is installed.
| Activation method | Best for | Speed |
|---|---|---|
| eSIM Carrier Activation | Carrier-purchased iPads | Automatic during setup |
| Quick Transfer | Upgrading to a new iPad | Fast, no support call needed |
| Join iPhone Plan | Shared carrier accounts | Moderate (carrier-dependent) |
| Find a New Plan | Browsing carriers on-device | Moderate |
| QR Code | Prepaid plans, travel eSIMs | Fast |
| Carrier App / Link | Prepaid plans, travel eSIMs | Fast |
How do you manage eSIMs and cellular settings on iPad?
All eSIM management lives in Settings > Cellular Data. From there you can label plans, switch the active plan, control data roaming, and remove plans you no longer need.
- Label your plans: Tap a plan name and select Plan Label to rename it. Use clear names like “Home AT&T” or “Europe Trip” so switching is fast.
- Switch the active data plan: Tap Cellular Data at the top of the Cellular Data screen and select which plan handles data. Only one plan can carry data at a time on most iPad models.
- Enable or disable data roaming: Tap a plan, then toggle Data Roaming on or off. Turn roaming off on your home plan when abroad to avoid unexpected charges.
- Check data usage per plan: Usage figures appear under each plan in Settings > Cellular Data. Reset them at the start of a billing cycle to track consumption accurately.
- Remove an eSIM: Tap the plan, scroll down, and tap Remove Cellular Plan. This action is permanent for most plans — the carrier must reissue the profile if you want it back.
If a plan shows “No Service” immediately after installation, toggle airplane mode off and on. If the issue persists, restart the iPad and check for a carrier settings update under Settings > General > About.
How do you buy an eSIM for iPad in the United States?
For most iPad use cases — travel, temporary data, or a backup connection — prepaid data-only eSIMs from a reputable retailer are the fastest and lowest-friction choice. You skip the carrier store, the contract, and the wait for a physical SIM.
What to verify before purchasing:
- Device compatibility: — Confirm the plan supports your specific iPad model and the networks in your destination.
Short-term prepaid plans let you pay only for the connectivity you need, which typically costs far less than roaming on a home carrier. For eSIM purchasing tips that cover plan duration, data volumes, and common mistakes, Esimglobe’s buying guide is a practical reference.
Apple SIM is no longer available for new activations, so rely on current eSIM workflows — QR code, app, or link — when purchasing any plan today.
Using eSIM on iPad when traveling internationally
Pre-installing and pre-activating short-term local plans before you travel is the most reliable approach. Doing this at home, on your own Wi-Fi, removes the risk of hunting for connectivity on arrival.
Pre-trip checklist:
- Purchase eSIM plans for each destination and install them before departure.
- Confirm network compatibility (4G LTE or 5G) for each country on your itinerary.
- Label each plan by country so switching on arrival takes seconds.
- Keep a global or multi-region plan as a fallback if a local plan has coverage gaps.
- Turn off data roaming on your home carrier plan to prevent automatic roaming charges.
Switching profiles on arrival:
Go to Settings > Cellular Data, tap Cellular Data at the top, and select the local plan for your destination. The switch takes effect immediately. Keep your home carrier plan active for calls and SMS if your carrier supports it, but route data through the local eSIM.
Many supported iPad models can store eight or more eSIM profiles, so pre-loading plans for an entire multi-country trip is practical. For a full international travel eSIM workflow, including setup steps and destination-specific tips, Esimglobe’s 2026 guide covers the end-to-end process.
Pro Tip: Buy a small, short-duration data pass for your arrival day. Confirm it connects before committing to a larger plan. If coverage is solid, top up or switch to a longer plan from the same provider.
Troubleshooting common eSIM problems on iPad
Most eSIM issues fall into a short list of fixable errors. Work through these steps before contacting support.
“No Service” after installation:
- Toggle airplane mode off and on.
- Restart the iPad.
- Go to Settings > General > About — if a carrier settings update is available, install it.
- Confirm the plan is set as the active data plan under Settings > Cellular Data.
Activation stuck or spinning:
- Verify you have a stable Wi-Fi connection. A dropped connection mid-download is the most common cause.
- Cancel and restart the activation from Settings > Cellular Data > Add Cellular Plan.
- If the QR code was already scanned, contact the retailer for a replacement activation code — most QR codes are single-use.
QR code not recognized:
- Ensure the camera lens is clean and the QR code is fully in frame.
- On iPadOS 17.4 or later, try long-pressing the QR image in your email and selecting Add eSIM.
- If scanning fails repeatedly, ask the retailer for a manual activation code to enter instead.
Plan shows but won’t connect to data:
- Confirm data roaming is enabled if you are outside your home country.
- Check the APN settings with your carrier — some plans require a manual APN entry.
- Toggle cellular data off and back on under Settings > Cellular Data.
Transfer failure between devices:
- Confirm both iPads are on the same Wi-Fi network and within Bluetooth range.
- Verify your carrier supports Quick Transfer for iPad.
- If transfer fails twice, contact the carrier directly — some require a support call to authorize the move.
When to reset network settings: Go to Settings > General > Transfer or Reset iPad > Reset > Reset Network Settings. This clears saved Wi-Fi passwords and VPN configurations along with cellular settings, so use it as a last resort before contacting support.
What to prepare before contacting carrier or Apple Support
Collect these details before you call or chat. Support agents can resolve issues in one session when you have everything ready.
- Device model and iPadOS version: Settings > General > About.
- IMEI/MEID: Also in Settings > General > About, or printed on the original box. This is your device identifier — not the same as the eSIM plan identifier.
- Plan ICCID or activation code: Found in your order confirmation email or under Settings > Cellular Data > [Plan Name] > SIM Card Information. This identifies the specific eSIM profile, not the device.
- Screenshots of any error messages: Capture them at the time of failure; error text disappears quickly.
- Timestamps of failed activations: Note the date and approximate time so the carrier can check server-side logs.
- Order confirmation number: Required by eSIM retailers to reissue a QR code or activation link.
The IMEI/MEID identifies the hardware. The ICCID identifies the eSIM profile installed on it. Support agents need both when troubleshooting a plan that installed but won’t connect.
Key Takeaways
Modern iPads support eSIM natively, and prepaid data-only plans activated by QR code or carrier app are the fastest, most flexible option for travelers and temporary users.
| Point | Details |
|---|---|
| Most cellular iPads support eSIM | Wi-Fi + Cellular models support eSIM; some iPad Pro M4, Air M2, and mini A17 Pro models are eSIM-only with no SIM tray. |
| Check model and iPadOS first | Go to Settings > General > About to confirm compatibility before purchasing any plan. |
| Six activation methods available | QR code and carrier app are fastest for prepaid plans; eSIM Carrier Activation handles carrier-purchased iPads automatically. |
| Pre-load plans before travel | Supported iPads store multiple eSIM profiles; install destination plans at home on stable Wi-Fi. |
| Esimglobe for prepaid iPad plans | Esimglobe delivers prepaid data-only eSIMs for 170+ countries instantly by email, with 24/7 support for iPad activation. |
Why prepaid eSIMs make sense for iPad users
The conventional advice is to call your carrier and add an international data plan. That works, but it usually means paying roaming rates set by your home carrier, with little control over cost per day. Prepaid data-only eSIMs flip that model: you buy exactly the data you need, for exactly the duration you need it, at local or near-local rates.
For iPad users specifically, the case is stronger than for phones. Most people do not make calls on an iPad. Data is the only thing that matters, and data-only prepaid plans are priced accordingly. There is no voice or SMS overhead built into the cost.
The detail most travelers miss: install the plan before you leave, not at the airport. Airport Wi-Fi is unreliable, and a failed download mid-activation leaves you without data at the worst possible moment. Doing it at home takes five minutes and removes that risk entirely. Store multiple profiles, label them clearly, and switching on arrival is a two-tap operation.
Esimglobe covers iPad eSIM plans for 170+ countries
Prepaid roaming plans from home carriers charge by the day or by the megabyte, with rates that add up fast on a week-long trip. Esimglobe offers a direct alternative: prepaid, data-only eSIM plans for 170+ countries, delivered instantly to your email inbox after checkout. No store visit, no physical SIM, no contract.
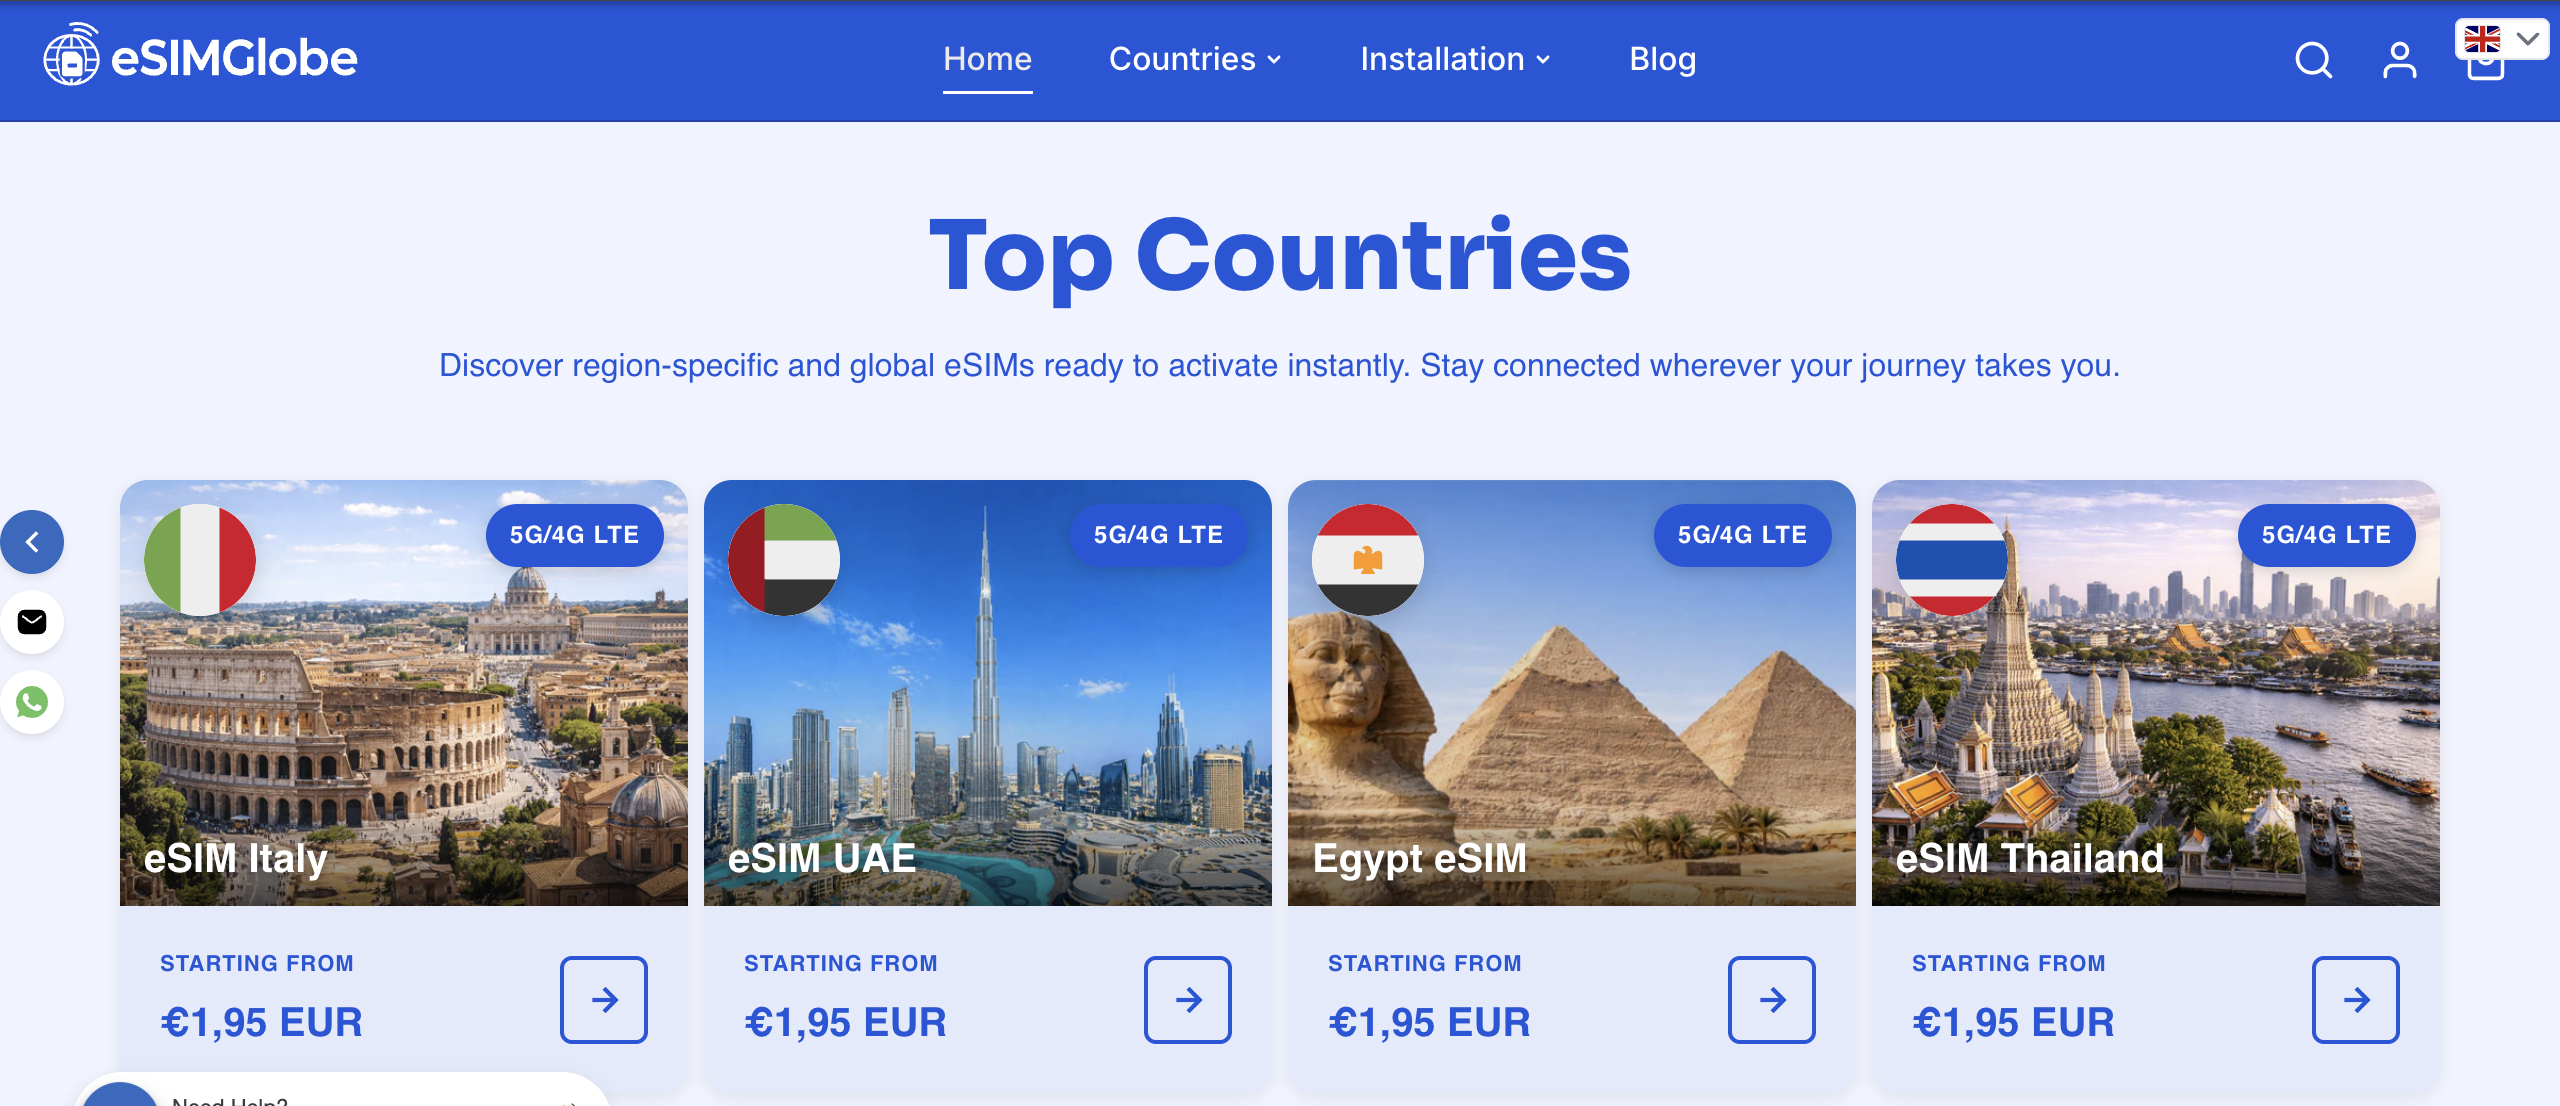
For iPad users, the fit is direct. Plans are compatible with eSIM-capable iPad models, available in day, week, and month durations, and activated by QR code or link — the two methods that work fastest on iPadOS. If you run into any issue during installation, 24/7 support is available to walk through iPad-specific activation steps. Checkout is available in USD, with a U.S.-friendly interface and instant order confirmation.
The Europe and Morocco Unlimited Day Pass is one example of Esimglobe’s regional plans — unlimited data across 40+ areas, activated in minutes. Browse the full plan catalog at esimglobe.com to find a plan that matches your destination and trip length, then check device compatibility before purchase.
Useful sources and where to verify compatibility
- Apple Support — Set up eSIM on iPad: — The official step-by-step guide for all activation methods, including QR code, carrier app, and eSIM Carrier Activation. Search “Set up eSIM on iPad” on Apple’s support site for the current version.
- Apple Support — iPad cellular data setup: — Covers device compatibility, eSIM-only models, and the transition away from Apple SIM. Search “Set up cellular data service on your iPad” on Apple’s support site.
- Esimglobe plan catalog: Browse prepaid data-only plans by country or region, confirm activation method (QR/link), and check plan duration at esimglobe.com.
- Esimglobe eSIM travel tips: Practical guidance on staying connected abroad, including pre-activation workflows and cost-saving plan selection.
FAQ
Can an iPad use an eSIM?
Yes. Any Wi-Fi + Cellular iPad model supports eSIM. Some newer models, including certain iPad Pro M4, iPad Air M2, and iPad mini A17 Pro variants, are eSIM-only with no physical SIM tray.
How do you add an eSIM to an iPad?
Go to Settings > Cellular Data > Add Cellular Plan, then scan a QR code, tap an activation link, or use a carrier app. On iPadOS 17.4 or later, you can also long-press a QR code image in an email and select Add eSIM.
What is the best eSIM for iPad?
For travelers and temporary data needs, a prepaid data-only eSIM from a reputable retailer is the most flexible choice. Esimglobe offers plans for 170+ countries with instant email delivery, multiple durations, and 24/7 support for iPad activation.
How do you buy an eSIM for an iPad?
Purchase a plan from a carrier or an eSIM retailer like Esimglobe, receive the QR code or activation link by email, then install it through Settings > Cellular Data > Add Cellular Plan. Confirm your iPad model supports eSIM and that the plan covers your destination before buying.
Why won’t my iPad eSIM connect after activation?
Toggle airplane mode off and on, then check for a carrier settings update under Settings > General > About. If data still won’t route, confirm the plan is selected as the active data plan and that data roaming is enabled if you are outside your home country.