






















TL;DR:
- The iPhone 15 in the U.S. relies entirely on eSIM technology, eliminating the physical SIM tray for cellular service. Travelers should ensure their device is carrier-unlocked, update iOS, and securely save activation details like QR codes to prevent installation issues. Choosing the right eSIM plan involves balancing coverage, data duration, and cost, with backup profiles recommended for uninterrupted connectivity.
The iPhone 15 supports eSIM fully. U.S. models ship without a physical SIM tray, so eSIM is not optional — it is the only way to get cellular service. You can keep your home number active and add a local data profile at the same time, which is exactly the setup most international travelers need.
One-minute checklist before you buy a travel plan:
- Go to Settings > General > Software Update and install any pending iOS update
- Confirm your device is carrier-unlocked (Settings > General > About > Carrier Lock: “No SIM Restrictions”)
- Have your Apple ID and password ready
- Know your carrier’s activation method: QR code, app, or manual entry
- Save the QR code or activation details on a second device or printed copy
Pro Tip: Open Settings > General > About right now. The “Carrier” and “Carrier Settings Version” fields tell you whether your carrier bundle is current — an outdated bundle is one of the most common reasons eSIM installation fails.
Table of Contents
- How do you install and activate an eSIM on iPhone 15?
- How do you choose the right travel eSIM plan for iPhone 15?
- What should you do when eSIM won’t activate on iPhone 15?
- Is eSIM safer than public Wi-Fi for travelers?
- How do digital nomads keep a home number and add local data on iPhone 15?
- Esimglobe: global eSIM plans built for iPhone 15 travelers
- Key Takeaways
- Why most travelers get eSIM wrong (and how to avoid it)
- Verified sources and further reading
- FAQ
How do you install and activate an eSIM on iPhone 15?
Start with the prerequisites: a stable Wi-Fi connection (Apple recommends Wi-Fi for a smoother install), your Apple ID, an unlocked device, the latest iOS version, and your IMEI or EID if the carrier asks for it. Activation can work without Wi-Fi in some regions, but Wi-Fi avoids consuming data before the new line is live.
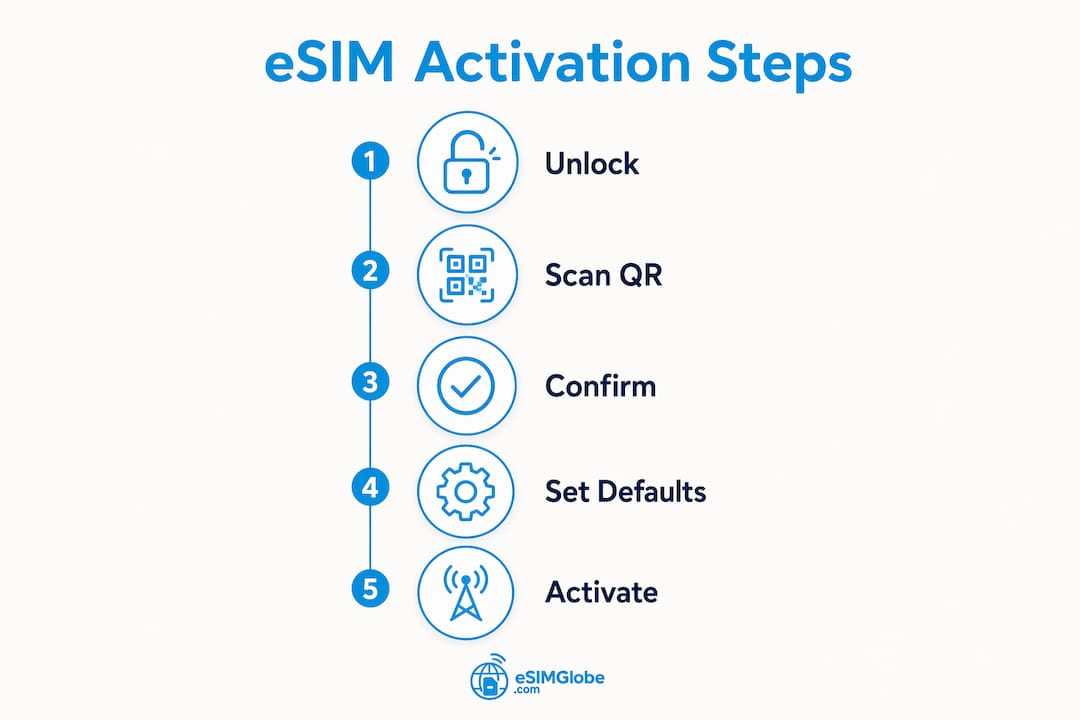
Four activation methods, in order of how often travelers encounter them:
- QR code (most common for travel eSIMs): Go to Settings > Cellular > Add Cellular Plan. Point the camera at the QR code your vendor emailed or displayed. Follow the on-screen prompts, label the plan (e.g., “Travel-Data”), and set your data defaults.
- Carrier push notification: Some carriers push the profile directly after purchase. A notification appears; tap it and follow the install steps in Settings.
- Carrier app or activation link: Open the carrier’s app or tap the activation link in your browser. iOS 17.4 and later lets you tap an emailed link to add the plan without scanning a QR code.
- Transfer from another iPhone: During device setup or via Settings > Cellular > Add Cellular Plan > Transfer from Another iPhone. You can also convert an existing physical SIM to eSIM if your carrier supports it.
After installation, set which line handles iMessage and FaceTime, choose your cellular data line under Settings > Cellular > Cellular Data, then make a test call and load a webpage to confirm both lines work.
Pro Tip: Keep the QR code image saved in your cloud notes or a secure app — not just in your email inbox. If you reset the device or the profile fails, you will need it to reinstall.
How do you choose the right travel eSIM plan for iPhone 15?
The decision comes down to five variables: coverage area, data volume and validity, peak speed versus throttled speed, voice and SMS needs, and how the plan installs on iPhone.

| Factor | Single-country plan | Multi-country / regional pass |
|---|---|---|
| Best for | Stays of 5+ days in one country | Multi-stop trips, short layovers |
| Data value | Higher GB per dollar | Slightly lower GB per dollar |
| Validity | Often 7–30 days | Often 7–30 days, shared across countries |
| Voice/SMS | Sometimes included | Usually data-only |
| Install method | QR, app, or link | QR, app, or link |
Before purchasing, confirm three things with the vendor: the installation method for iPhone (QR, one-tap link, or app), whether the vendor supports profile re-installs if activation fails, and whether refunds are available for unused data.
For cost efficiency, compare the effective per-GB rate and the validity window together. A 1 GB plan valid for 7 days costs more per GB than a 5 GB plan valid for 30 days. Short micro-plans with hidden activation fees add up fast on longer trips. For eSIM purchasing decisions, matching validity to your actual trip length is the sharpest way to cut waste.
What should you do when eSIM won’t activate on iPhone 15?
Apple’s troubleshooting sequence covers most failures:
- Update iOS — go to Settings > General > Software Update and install any available update.
- Toggle Airplane Mode — enable it for 30 seconds, then disable it. This forces the modem to re-register with the network.
- Restart the device — a full power cycle clears transient provisioning errors.
- Check carrier settings — Settings > General > About; if a carrier settings update is available, a prompt appears automatically. Accept it.
- Try manual entry — if QR scanning fails, enter the SM-DP+ address and activation code manually using the details your vendor provided.
- Use the carrier app or activation link — some vendors offer an alternative install path that bypasses QR entirely.
If the problem persists, collect your phone number, account PIN, IMEI, and EID before contacting carrier support. Activation time varies by carrier: most travel eSIMs activate within minutes, but some carrier-provisioned plans can take up to a few hours.
Pro Tip: Check the carrier settings version in Settings > General > About before you contact support. Outdated carrier bundles cause a large share of installation failures, and updating takes under a minute.
When to escalate: persistent “SIM provisioning declined” errors or no network signal after a successful install are carrier-side issues. Provide your diagnostics and contact the vendor’s helpdesk directly.
Is eSIM safer than public Wi-Fi for travelers?
Yes. Cellular data delivered over eSIM travels through the carrier’s encrypted network infrastructure. Public Wi-Fi does not offer that protection by default.
Apple notes that eSIM provides enhanced security and flexibility compared to physical SIMs, and cellular traffic avoids the man-in-the-middle exposure that makes public Wi-Fi risky for sensitive actions like banking, accessing work accounts, or receiving 2FA codes.
Practical steps to stay protected while traveling:
- Use your local eSIM data for banking, email, and 2FA — not the hotel Wi-Fi
- Enable a VPN on your device for any session where you must use public Wi-Fi
- Keep iOS updated; Apple patches network-layer vulnerabilities regularly
- Turn off Wi-Fi auto-join for unknown networks in Settings > Wi-Fi
For more on staying connected safely abroad, the combination of a local eSIM and an updated iOS is the baseline most security-conscious travelers use.
How do digital nomads keep a home number and add local data on iPhone 15?
The U.S. iPhone 15 can store more than eight eSIM profiles and run two active lines at once. That makes the dual-line workflow straightforward.
Recommended setup:
- Keep your primary home line as the default for calls, SMS, and 2FA. Label it “Home” in Settings > Cellular.
- Purchase a local data-only eSIM before departure or on arrival.
- Install it via QR or activation link and label it “Travel-Data.”
- Go to Settings > Cellular > Cellular Data and select “Travel-Data” as the active data line.
- Leave “Home” active for calls and SMS so 2FA codes still arrive.
To switch data lines, go to Settings > Cellular > Cellular Data and tap the line you want. To silence a line temporarily, tap it in Settings > Cellular and toggle “Turn On This Line” off. To delete an unused profile, tap the line and select “Remove Cellular Plan.”
Pro Tip: Store your eSIM QR codes and activation codes in a secure cloud note (Apple Notes with lock, or a password manager). If you factory-reset the device or lose it, you can reinstall the profile without contacting the vendor again.
For a full international traveler eSIM workflow, including how to manage profiles across multiple countries, Esimglobe’s setup guides walk through each step in detail.
Esimglobe: global eSIM plans built for iPhone 15 travelers
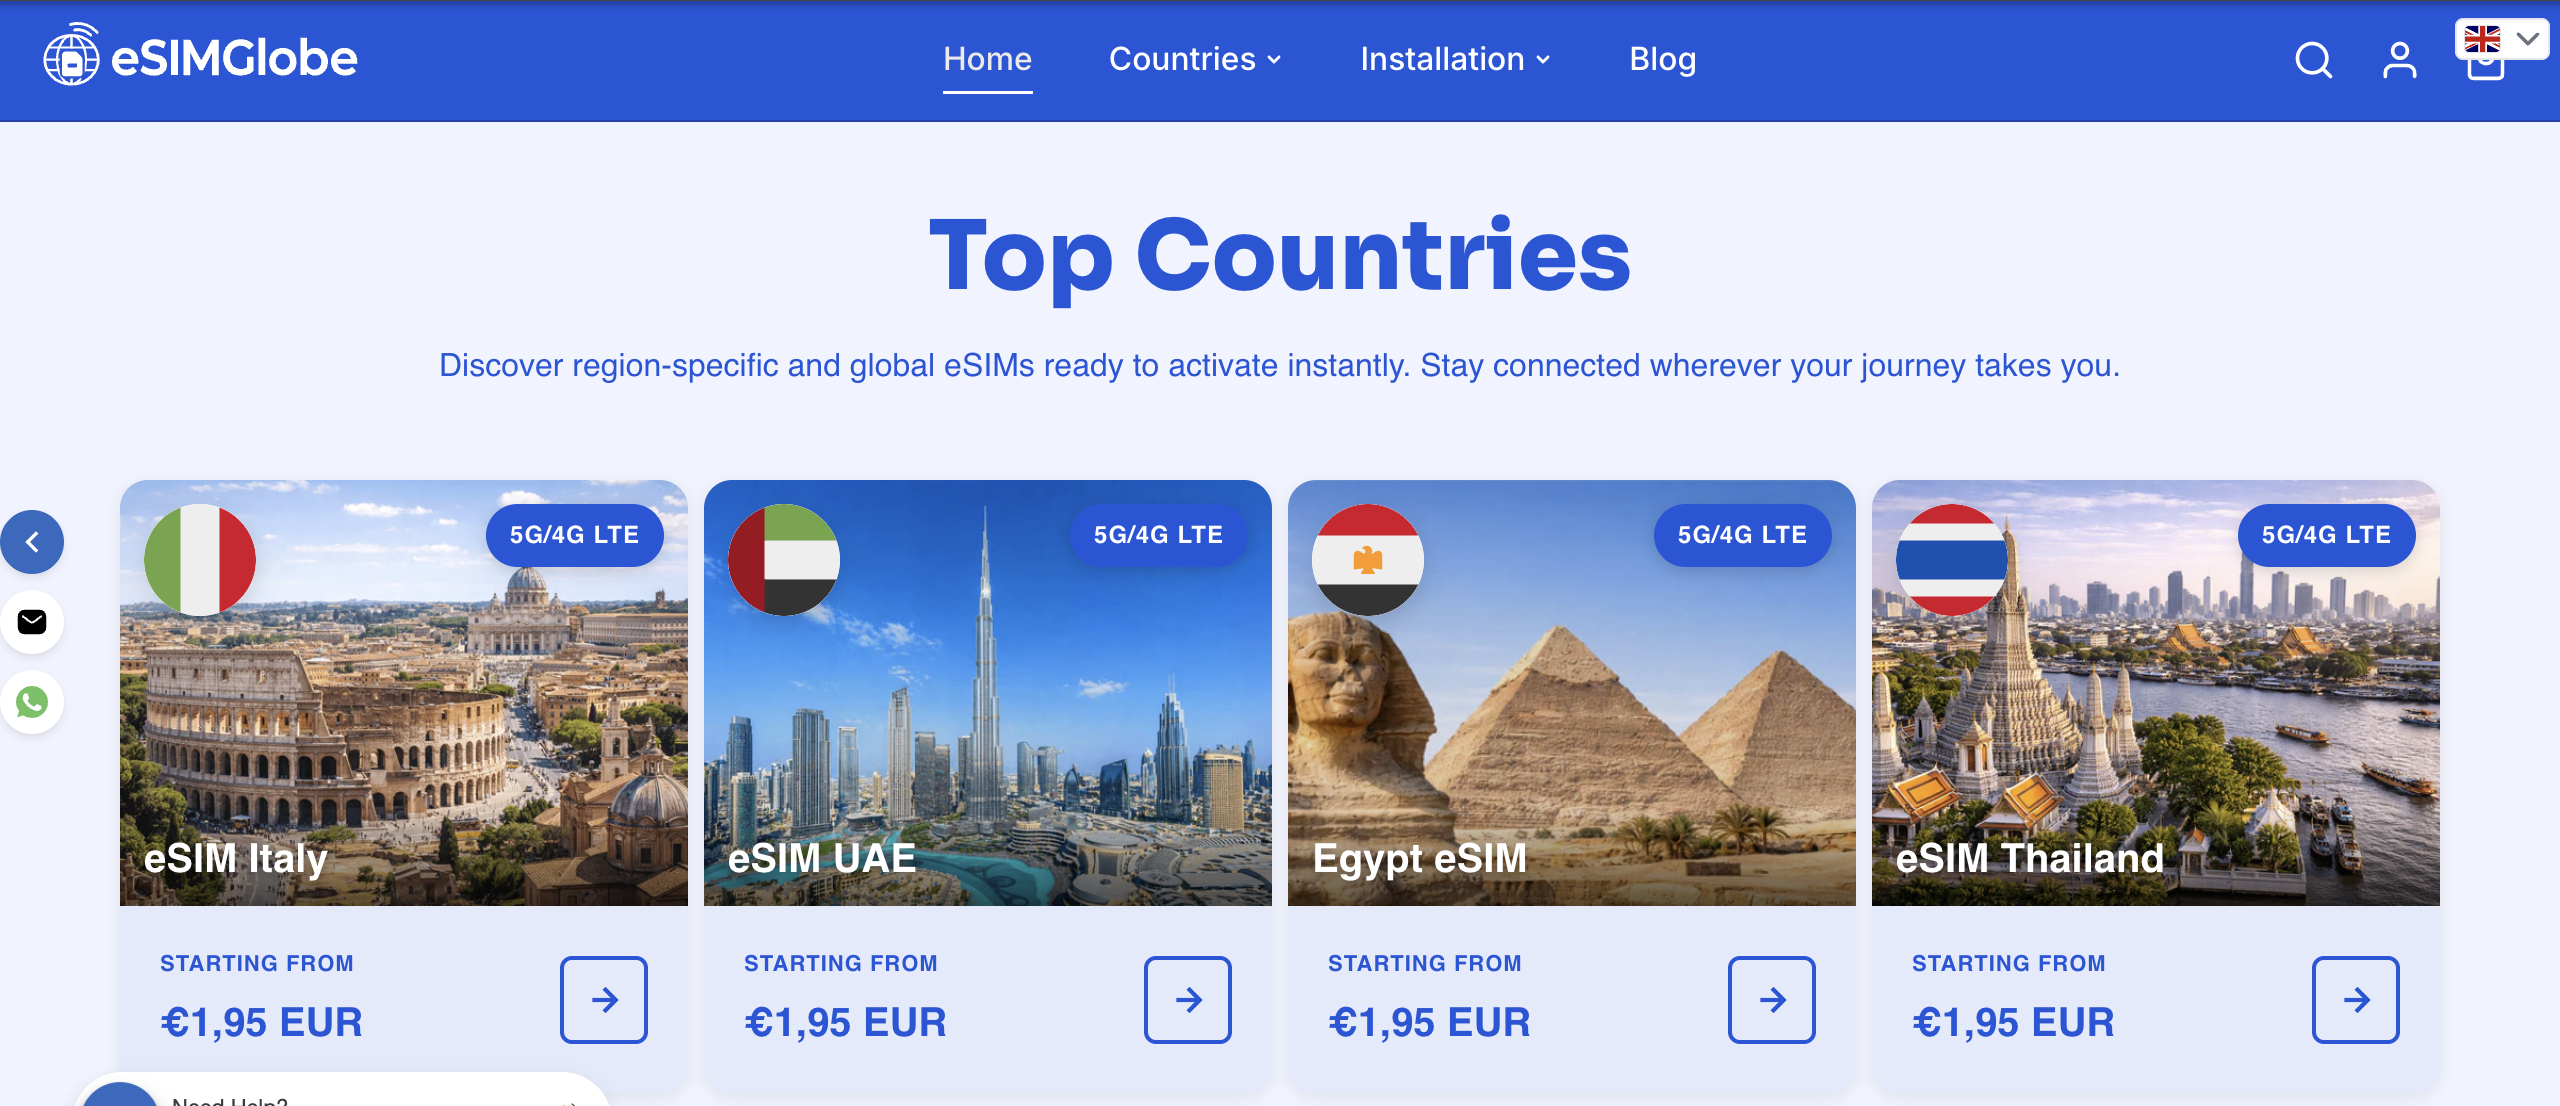
Esimglobe offers single-country and multi-country data passes with one-tap iPhone install guidance, so you are not hunting for a QR scanner or decoding carrier instructions at the gate. The platform covers destinations worldwide, with plans available in USD, EUR, and GBP and support in multiple languages.
The International Traveler’s Guide and the Universal Link 1-Tap install resource are built specifically for iPhone users who want a fast, low-friction activation. For business travelers who treat connectivity as a non-negotiable part of every trip, that speed matters. Pre-travel support is available if you want to confirm your plan and activation method before you leave home. Browse plans and get your travel eSIM at esimglobe.com.
Key Takeaways
The iPhone 15 is eSIM-only in the U.S., supports two active lines simultaneously, and lets travelers keep a home number while running a local data eSIM for affordable connectivity abroad.
| Point | Details |
|---|---|
| U.S. iPhone 15 is eSIM-only | No physical SIM tray; eSIM is required for all cellular service on U.S. models. |
| Two active lines at once | Store multiple profiles; run a home line and a local data line simultaneously. |
| Confirm activation method first | Know whether your vendor uses QR, app, or one-tap link before you travel. |
| Apple’s fix for failed installs | Update iOS, toggle Airplane Mode, restart, and check carrier settings under About. |
| Esimglobe for travel plans | Single-country and multi-country passes with one-tap iPhone install guidance. |
Why most travelers get eSIM wrong (and how to avoid it)
The gap between “eSIM is easy” and “eSIM failed at the airport” almost always comes down to one skipped step: confirming the activation method before leaving home.
Travelers lose QR codes more often than they expect. An email gets archived, a screenshot disappears, and suddenly there is no way to reinstall a profile without contacting support from a country where the vendor’s helpdesk operates in a different time zone. Saving the QR image and the raw activation code to a password manager takes 30 seconds and eliminates that problem entirely.
Validity windows catch people off guard too. A 7-day plan purchased on a Monday expires the following Monday regardless of how much data is left. Matching validity to actual travel dates, not approximate ones, is the difference between a plan that covers the whole trip and one that runs out two days early.
One tip most guides skip: install a small backup data-only eSIM before you leave home. If your primary line goes down mid-trip — provisioning error, carrier outage, accidental deletion — that backup keeps email, 2FA, and account access alive while you sort out the main line.
Verified sources and further reading
- Apple Support — Set up eSIM on iPhone: Canonical guide covering all activation methods, prerequisites, and troubleshooting steps.
- Apple Support — If you can’t set up an eSIM on your iPhone: Step-by-step fix for failed installations, including what identifiers to collect before contacting your carrier.
- Apple Support — iPhone 15 Tech Specs: Confirms U.S. models are eSIM-only with no physical SIM tray.
- Esimglobe — International Traveler’s Guide: Traveler-focused eSIM workflows and vendor guidance for iPhone users.
- Esimglobe — Universal Link 1-Tap Install Guide: Simplified iPhone activation resource for Esimglobe plans.
- Consult your specific carrier’s support page for vendor-specific activation steps, as some carriers require account credentials or additional verification not covered in Apple’s general guide.
FAQ
Does the iPhone 15 support eSIM in the U.S.?
Yes. U.S. iPhone 15 models are eSIM-only and have no physical SIM tray, so eSIM is required for all cellular service.
Can you use two SIMs on iPhone 15 at the same time?
Yes. The iPhone 15 supports two active lines simultaneously, letting you keep a home number for calls and 2FA while using a local data eSIM abroad.
How long does iPhone 15 eSIM activation take?
Most travel eSIMs activate quickly after scanning the QR code. Carrier-provisioned plans may sometimes take longer depending on the carrier.
What do you do if your eSIM won’t install on iPhone 15?
Follow Apple’s sequence: update iOS, toggle Airplane Mode, restart the device, and check for a carrier settings update under Settings > General > About. If that fails, try manual entry or the carrier’s app.
Which eSIM plans work best for multi-country travel on iPhone 15?
Multi-country or regional passes cover multiple destinations under one plan and are the practical choice for short multi-stop trips. Esimglobe offers both single-country and multi-country options with one-tap iPhone install support.